


How to Install OpenCV on a Raspberry Pi

Jeremy Morgan 
Nov 7, 2020 - 3 min read
Last Update: Apr 4, 2023

AI changed software development. This is how the pros use it.
Written for working developers, Coding with AI goes beyond hype to show how AI fits into real production workflows. Learn how to integrate AI into Python projects, avoid hallucinations, refactor safely, generate tests and docs, and reclaim hours of development time—using techniques tested in real-world projects.
OpenCV is an incredible computer vision library, and the Raspberry Pi is an awesome piece of hardware. You can bring them together for your projects. In fact, I am writing this article as a reference so you folks can set up your Pi with OpenCV for a series of tutorials I’m doing.
We’re going to install OpenCV on the Raspberry Pi for Python projects. Note: There are two ways to install this:
- Pip install (30 seconds)
- Compile from source (hours)
We are covering the Pip install here because it’s fast and easy. It will work for most OpenCV projects, and it’s an easy solution. However, there will be libraries and Non-Free algorithms that are not installed with Pip. So if you want the FULL library, you’ll need to do build OpenCV from source. For most people, the Pip install should be just fine.
You may also notice we’re installing OpenCV with the contrib modules included. You can do a smaller opencv-python installation if you choose.
This is just one of many Raspberry Pi Projects you can do to learn more about development and IoT.
Let’s get started.
Step 1: Set Up Your Raspberry Pi
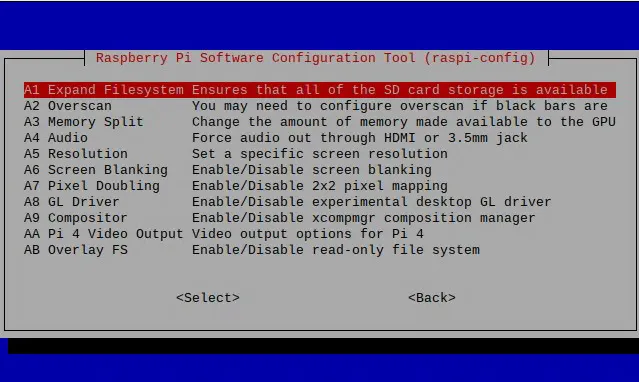
The first thing you should do is make sure your Pi is using the full SD card. It’s easy enough to do.
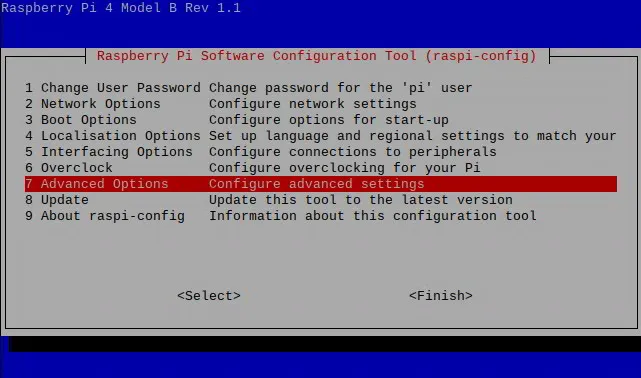
sudo raspi-config
Reboot the machine
sudo reboot
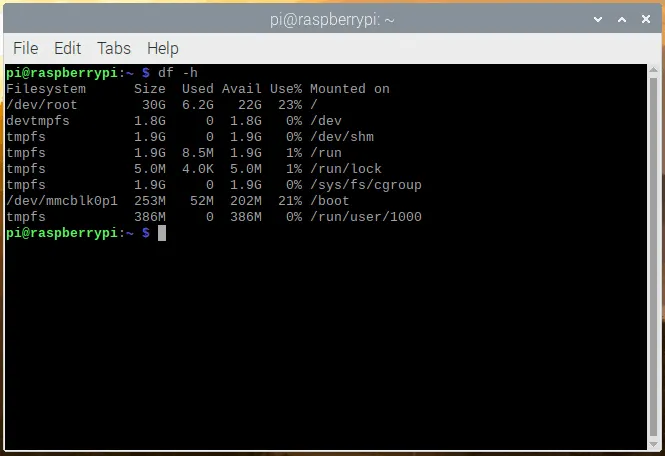
Now you can check to make sure you’ve got the space:
df -h
Cool, we’re ready. Let’s update the system:
sudo apt-get update && sudo apt-get upgrade
This is all you’ll need to do the Pi for now to get it ready.
Step 2: Get Pip and Install OpenCV
Now, we’ll get pip and use that to install OpenCV.
mkdir ~/src && cd ~/src
wget https://bootstrap.pypa.io/get-pip.py
$ sudo python3 get-pip.py
There are two ways to install OpenCV. You may want to install it for the whole system or use a Python Virtual Environment.
I suggest using the Python Virtual Environment method because it’s more portable, and you can use different libraries with different projects on the same machine. There isn’t a lot of overhead to using the virtual environment method, but I’ll show both ways:
Option 1: Install OpenCV for the Whole System:
sudo pip install opencv-contrib-python
And you’re done. You
Or,
Option 2: Install OpenCV in a Python Virtual Environment:
sudo pip install virtualenv virtualenvwrapper
vim ~/.bashrc
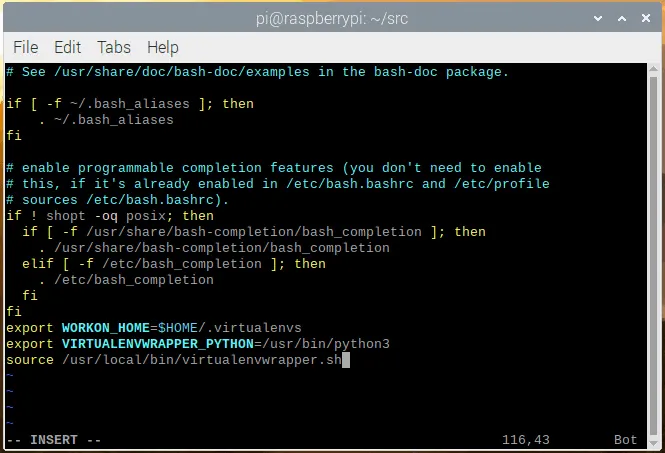
add the following lines to the bottom:
export WORKON_HOME=$HOME/.virtualenvs
export VIRTUALENVWRAPPER_PYTHON=/usr/bin/python3
source /usr/local/bin/virtualenvwrapper.sh
Save the file, and run source on your .bashrc to reload the changes:
source ~/.bashrc
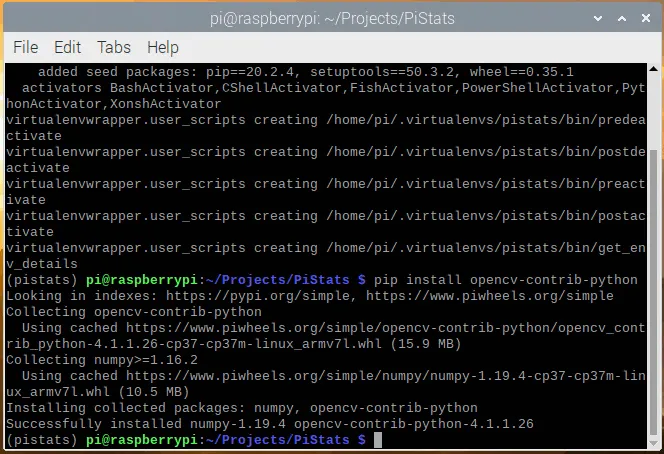
Now, you can create a virtual environment named pistats (or whatever you like)
mkvirtualenv pistats -p python3
Then install OpenCV:
pip install opencv-contrib-python
Ok, now we’re up and running.
What Can I Do With This?
OpenCV is an amazing image analysis and processing package. It’s used for some serious computer vision projects.
The Raspberry Pi is a complete Linux computer in a small package. So the possibilities are endless with this:
- Real-time Face Recognition: an End-to-end Project
- Increasing Raspberry Pi FPS with Python and OpenCV
- Automatic Vision Object Tracking
The list can go on forever. Here’s a good list of OpenCV projects you can check out.
Want to learn more about the Raspberry Pi? Check out the Raspberry Pi for Developers course!

Skip the hype. The newsletter that keeps you in the know.
AI news curated for engineers. The AI New Hotness Newsletter is what you need.
Zero fluff. Just the research, tools, and infra updates that actually affect your production stack.
Stay up to date on AI for developers - Subscribe on LinkedIn
