How To Set Up Wireless Networking with Ubuntu on a G4 PowerBook
Last Update: Mar 25, 2023
I wrote a book! Check out A Quick Guide to Coding with AI.
Become a super programmer!
Learn how to use Generative AI coding tools as a force multiplier for your career.
Today I’m going to explain how to set up wireless networking on G4 PowerBook running Ubuntu. It’s an oddly specific post that will probably help around two people a year, but since I had to do it recently I figured I would share my process that I use getting this thing working. There’s a lot of mixed instructions on the internet, but many of them don’t work. Also there are several ways to do it, this way is the simplest and easiest way I know of.
This may not work for everyone!
I should say right off that this may not work for everyone. There is a variety of hardware combinations in these old PowerBooks, and it seems like no two are the same. I made notes and did some trial and error a couple years ago on setting this up and that’s where this comes from, but if you have trouble feel free to contact me I’ll try to help.
Also, I’m using Ubuntu Linux 10.04 so instructions will vary with different versions of Linux. I noticed it is easier to set up in 10.04 and new versions of Ubuntu.
Step 1: Find out what kind of card you have
The majority of the cards that come in Apple Powerbooks are Broadcom 4xxx chipsets. To find out which one you have, open a terminal and type in
sudo lspci -vnn -d 14e4:
My machine looks like this:
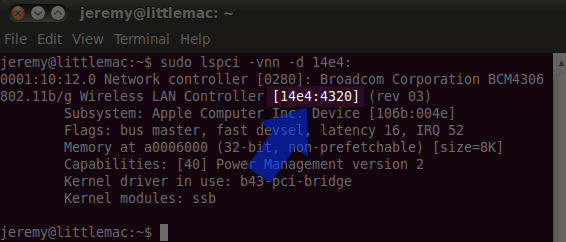
From this I can see my chip is a BCM 4306 and My PCI ID is 14e4:4320 which a fairly common b43legacy device. Look up your PCI ID on this table on Kernel.org to see what type of driver ()you need to use.
To install this, I’ll need to extract the firmware from a Windows driver. I’ll use b43-fwcutter for this purpose:
sudo apt-get install b43-fwcutter
During the installation you’ll see the following screen:
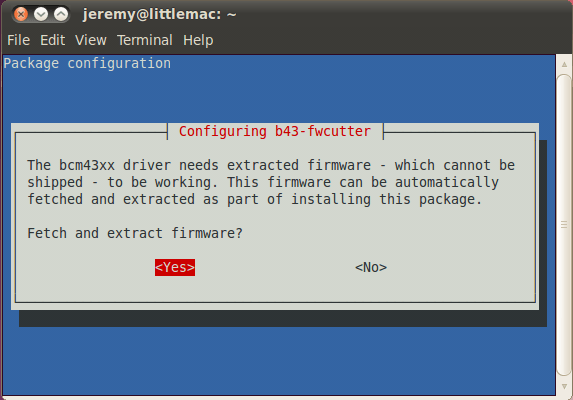
Select “Yes” and the script will download and extract your firmware.
Now go to
System > Administration > Hardware/Additional Drivers
And you’ll see the following:
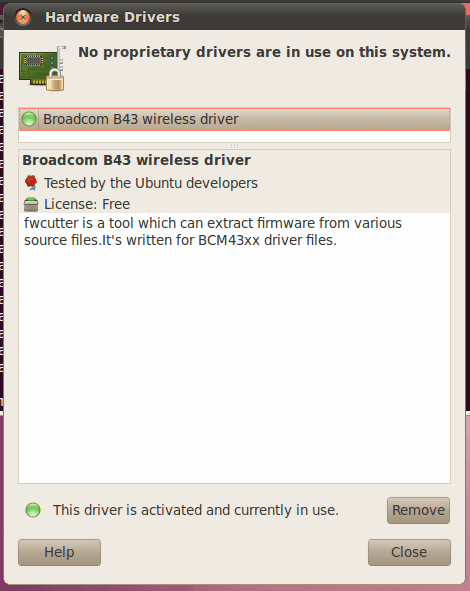
Restart your computer.
Once you reboot, you will that there are a couple arrows at the top right corner of the screen (Ubuntu 10.04) and once you click on it, it will drop down your menu:
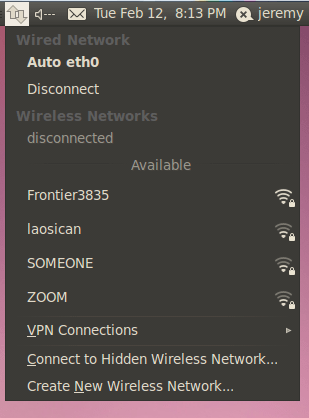
From there you want to either click on your network if you see it, or click to connect to hidden wireless network.
Once you select your network you’ll see the following screen:
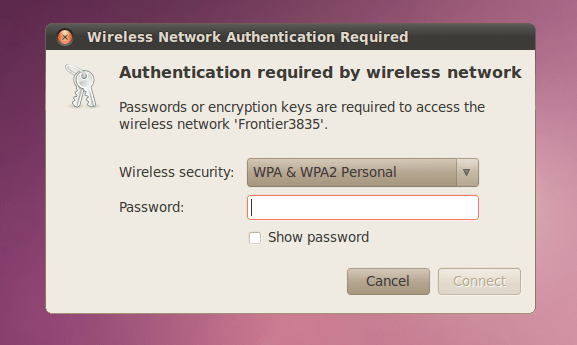
Enter your information and you’re ready to go! It’s that easy.
Summary
It’s definitely a bit more difficult with other cards and operating systems, but out of the 3 Ubuntu G4s I’ve set up like this they both used this process. In Yellow Dog I had to install a few apps and build a shell script on startup to accomplish this same task. Fun Stuff!
If you have an questions, leave them in the comments and I’ll attempt to help out.
More info on driver installation options for Ubuntu

Want to learn more about Linux? Of course you do. Check out this Linux Fundamentals course. You can sign up for a free trial here and take it today!


