


LVM 101: A Beginner's Guide to Logical Volume Management on Ubuntu

Jeremy Morgan 
Apr 22, 2025 - 4 min read
Last Update: Apr 27, 2025

AI changed software development. This is how the pros use it.
Written for working developers, Coding with AI goes beyond hype to show how AI fits into real production workflows. Learn how to integrate AI into Python projects, avoid hallucinations, refactor safely, generate tests and docs, and reclaim hours of development time—using techniques tested in real-world projects.
Ever wished your Linux storage was more flexible and less “stuck in the mud”? That’s where LVM comes in. Logical Volume Management gives you the power to manage storage like a pro—resize volumes on the fly, combine multiple disks, and move things around without breaking a sweat.
Let’s get our hands dirty and explore the basics—with a real example using loop devices so you don’t need extra hardware.
🧱 LVM Building Blocks: Lego for Your Linux Storage
First, let’s break down what LVM is made of. Think of these as the building blocks of your storage system:
- Physical Volumes (PVs): These are your actual drives or partitions—like
/dev/sda1,/dev/sdb, or even virtual loop devices. - Volume Groups (VGs): Combine your physical volumes into one big storage pool. It’s like mixing Legos from multiple sets into one big bin.
- Logical Volumes (LVs): This is where the magic happens. You carve out usable chunks from your volume group. These are what you format and mount as filesystems.
Here’s a simple map of how they connect:

Neat, right? Now let’s make it real.
🛠️ Installing LVM on Ubuntu
LVM is often already installed, but if it’s not, just run:
sudo apt update
sudo apt install lvm2
Verify it with:
sudo lvm version
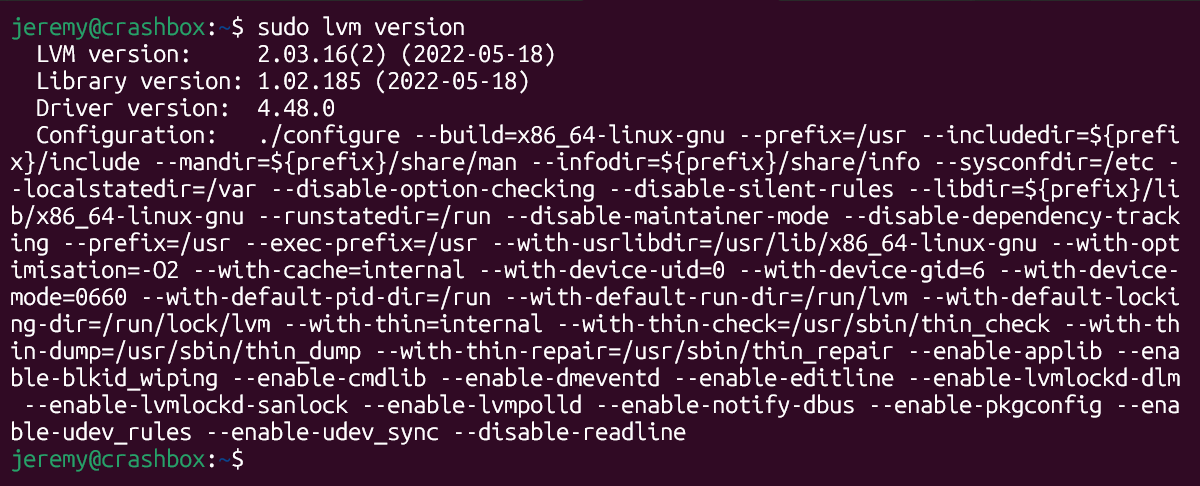
If you see version info—boom, you’re good to go.
🧪 Hands-On Demo: Expanding a Filesystem with Loop Devices
Let’s simulate a scenario where you want to add more space to your server. We’ll use loop devices (virtual disks) so you don’t risk real data.
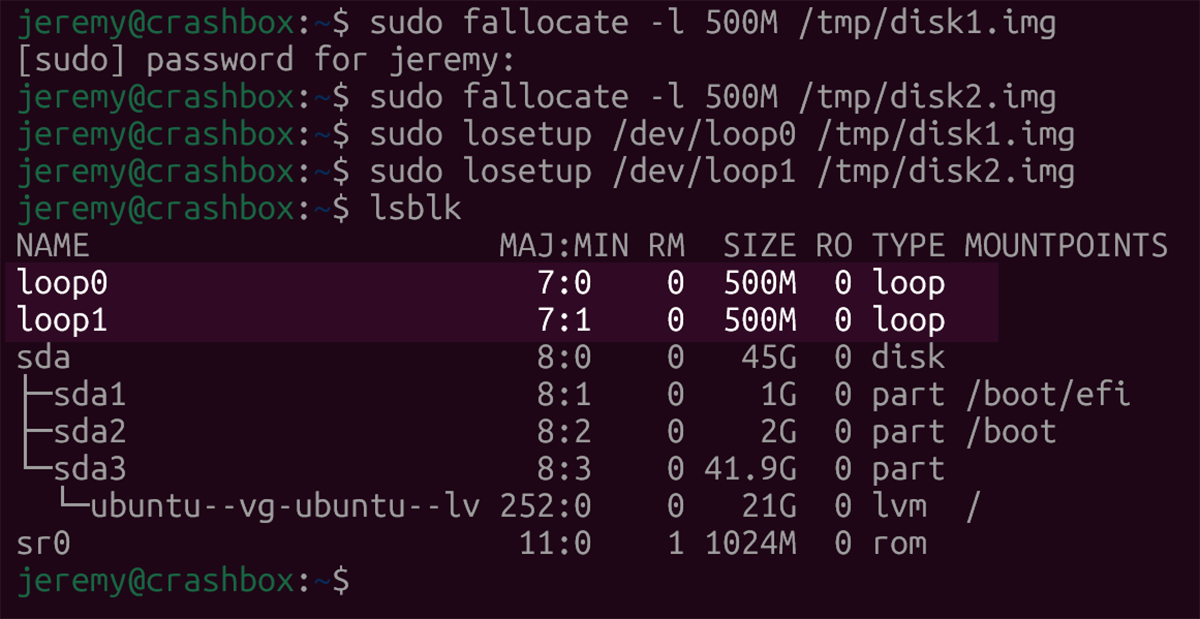
🔁 Step 1: Create Fake Disks
sudo fallocate -l 500M /tmp/disk1.img
sudo fallocate -l 500M /tmp/disk2.img
sudo losetup /dev/loop0 /tmp/disk1.img
sudo losetup /dev/loop1 /tmp/disk2.img
Now you’ve got two fake 500MB disks. Sneaky, huh?
🧱 Step 2: Set Up Physical Volumes
sudo pvcreate /dev/loop0
sudo pvcreate /dev/loop1
sudo pvs
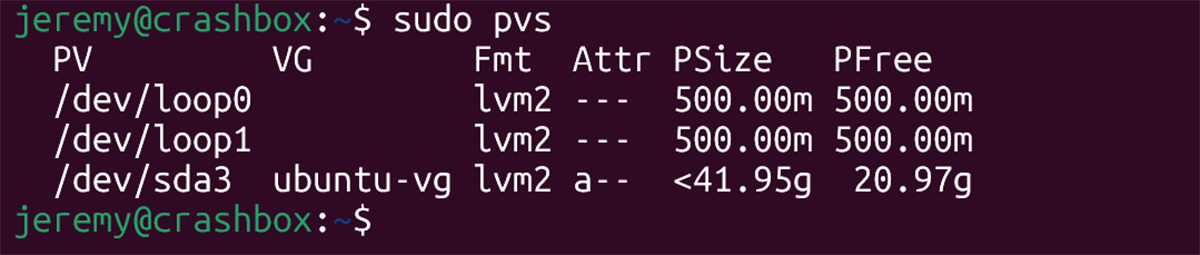
You should see both loop devices ready for action.
🧰 Step 3: Create Your Volume Group
Next, let’s create a volume group. This is where you’ll combine your physical volumes into one big happy family.
sudo vgcreate vg_demo /dev/loop0
sudo vgs
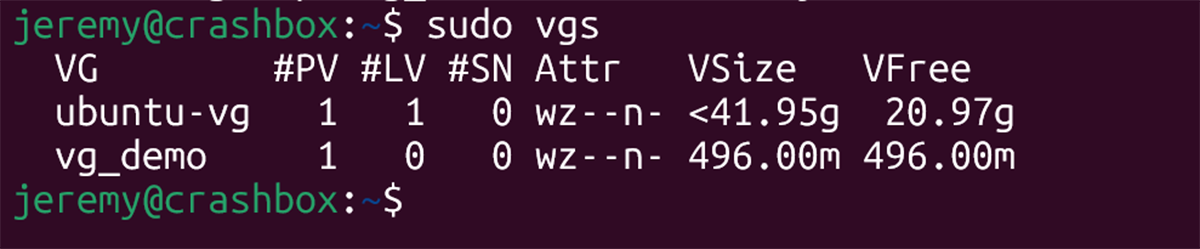
We’ll add the second disk later.
📦 Step 4: Create a Logical Volume
sudo lvcreate -L 400M -n lv_data vg_demo
Check it out with:
sudo lvs

You should see your new logical volume. It’s like a mini partition inside your volume group.
Or get the deep details:
sudo lvdisplay /dev/vg_demo/lv_data

🧹 Step 5: Format the Volume
sudo mkfs.ext4 /dev/vg_demo/lv_data
📂 Step 6: Mount It
sudo mkdir /mnt/lvm_data
sudo mount /dev/vg_demo/lv_data /mnt/lvm_data
df -h /mnt/lvm_data
Now you can use it like any other filesystem. Check the space with df -h.

You’ll see about 400MB of usable space.
➕ Step 7: Add Another Disk
sudo vgextend vg_demo /dev/loop1
sudo vgs

Now you’ve added the second disk to your volume group. This is where LVM shines—no downtime, no fuss.
Your volume group just got bigger. Pretty awesome, right?
🧱 Step 8: Expand the Logical Volume
sudo lvextend -L +500M /dev/vg_demo/lv_data
sudo lvs

Now it’s bigger, but we’re not done yet.
🔧 Step 9: Grow the Filesystem
sudo resize2fs /dev/vg_demo/lv_data
Now you can actually use the extra space!
🧪 Step 10: Verify It
df -h /mnt/lvm_data

You should now see the full ~900MB available.
🧹 Clean-Up (Optional)
Don’t want to keep the setup? Tear it down safely:
sudo umount /mnt/lvm_data
sudo lvremove /dev/vg_demo/lv_data
sudo vgremove vg_demo
sudo pvremove /dev/loop0
sudo pvremove /dev/loop1
sudo losetup -d /dev/loop0
sudo losetup -d /dev/loop1
sudo rm /tmp/disk1.img /tmp/disk2.img
sudo rmdir /mnt/lvm_data
🧭 Wrapping Up
Here’s what we learned:
- LVM makes managing storage super flexible.
- You can add space, resize volumes, and do it all live—no reboot needed.
- Loop devices are awesome for safe, hands-on learning.
Want to go further? Check out LVM features like snapshots, striping, and mirroring. You’ve got the basics down—keep experimenting!
🙋♂️ Got Questions?
Q: Can I use this with real disks?
Absolutely. Just swap /dev/loopX with something like /dev/sdb. But be careful—real data is on the line.
Q: Why LVM?
Because resizing and reorganizing your disk space without rebooting is kind of a superpower.
Q: Do I have to reboot after changes?
Nope. That’s one of the big perks of LVM.
Until next time—Happy hacking! 💻🔥

Skip the hype. The newsletter that keeps you in the know.
AI news curated for engineers. The AI New Hotness Newsletter is what you need.
Zero fluff. Just the research, tools, and infra updates that actually affect your production stack.
Stay up to date on AI for developers - Subscribe on LinkedIn