


Setting up the Adafruit Huzzah ESP8266 Breakout

Jeremy Morgan 
Jan 12, 2016 - 4 min read
Last Update: Mar 8, 2023

I wrote a book! Check out A Quick Guide to Coding with AI.
Become a super programmer!
Learn how to use Generative AI coding tools as a force multiplier for your career.
Recently I showed a friend of mine some of the projects I’ve working on with Arduino and Wifi, and he introduced me to the ESP8266 chip. I found them all over the internet ranging from $1.50 US to $20, with a variety of configurations and manufacturers. I decided to go with a company I trust, Adafruit Industries, and see what their offering is like.
Full disclosure: I was not paid or compensated by Adafruit, I purchased this product. You can grab one for $9.95 here.
Assembly
With Adafruit products you can expect a few things:
- A good design
- Software for devices
- Lots of instructions
- Soldering
As I’ve said before I think soldering components is a good thing, even for beginners. It gives you more freedom with how you set up your boards, and it forces you to get good at soldering. This kit comes to you looking like this:
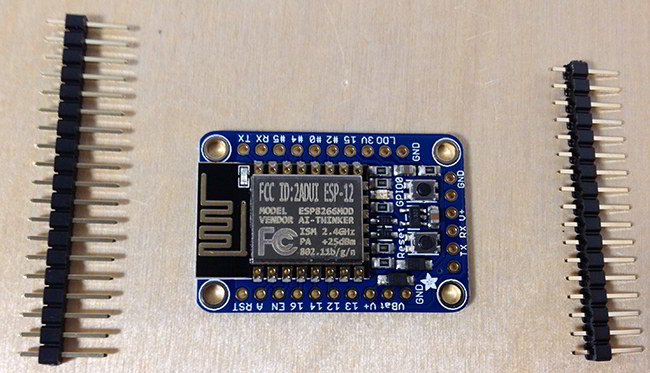
Its a board, with some pins (extras) and that’s it. I generally like to place them in the breadboard when soldering to keep everything straight. Some have warned against this because you might damage your breadboard. If you are getting the pins that hot or slopping that much solder you’re doing it wrong. Practice on some old electronic stuff!
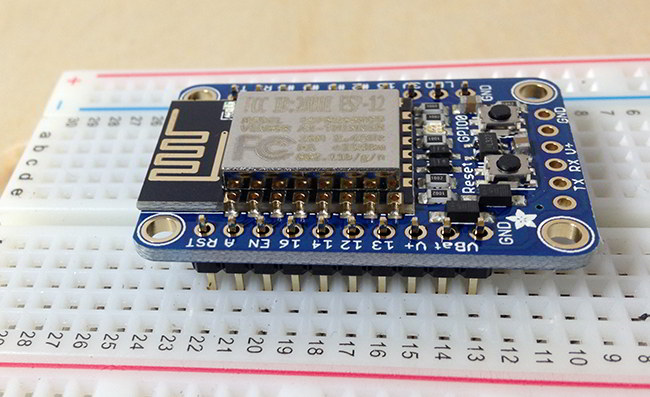
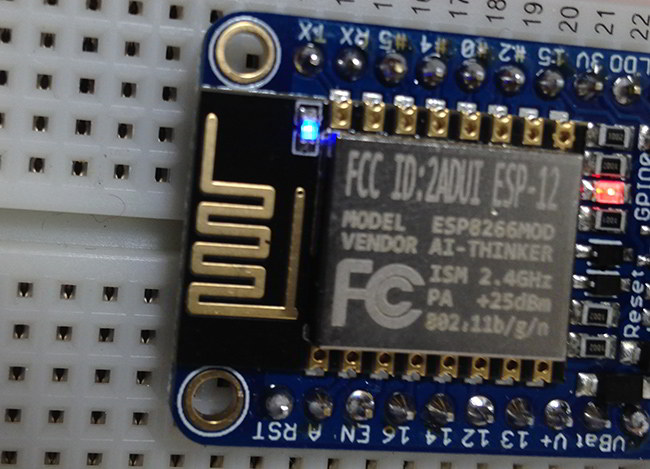
In a few minutes you should have something that looks like this:
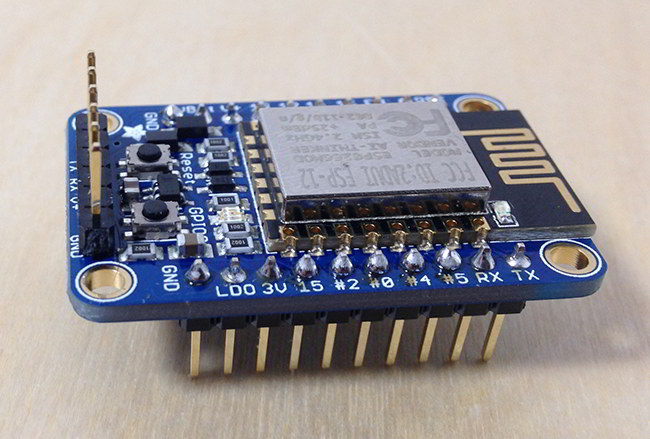
It’s ready to program!
Setting up the Software
I should note there are a few ways to connect to this device to program it. I chose the easy way, and got a FTDI Serial USB cable to do this. I figure it won’t be the last time I program a serial device, and I freely admit I am NOT an electronic engineer so this route worked well for me.
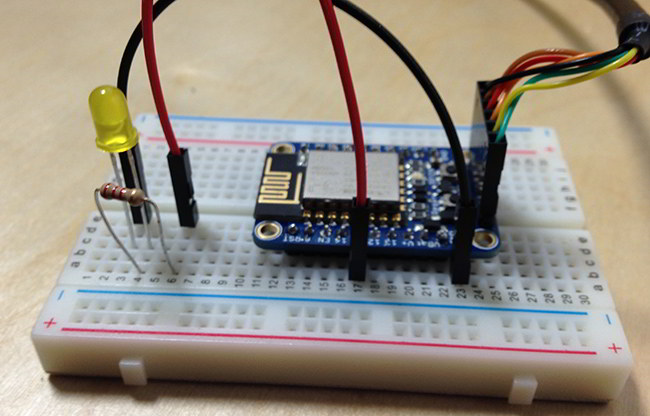
The first thing I thought I’d do, is the “hello world” of electronics and blink an LED.
To get the software you need, head on over to this GitHub repo and download the .zip file and save it in your libraries folder.
Start Arduino and open Preferences window.
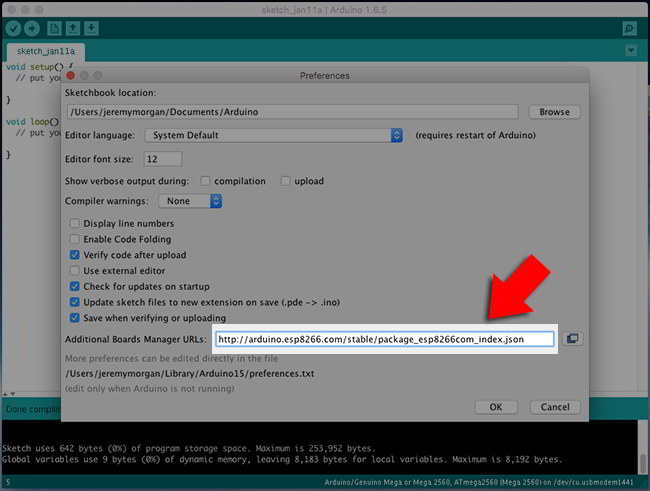
Enter http://arduino.esp8266.com/stable/package_esp8266com_index.json into Additional Board Manager URLs field. You can add multiple URLs, separating them with commas. Click OK.
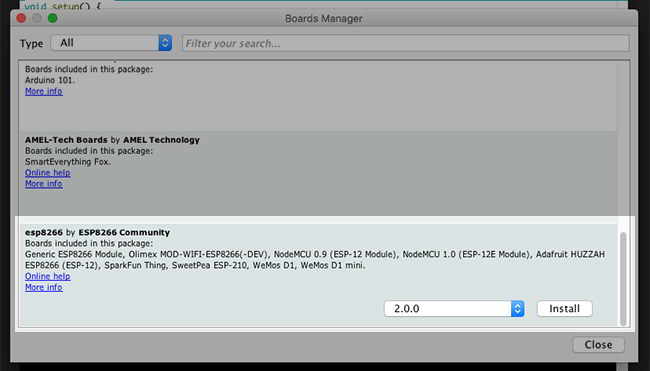
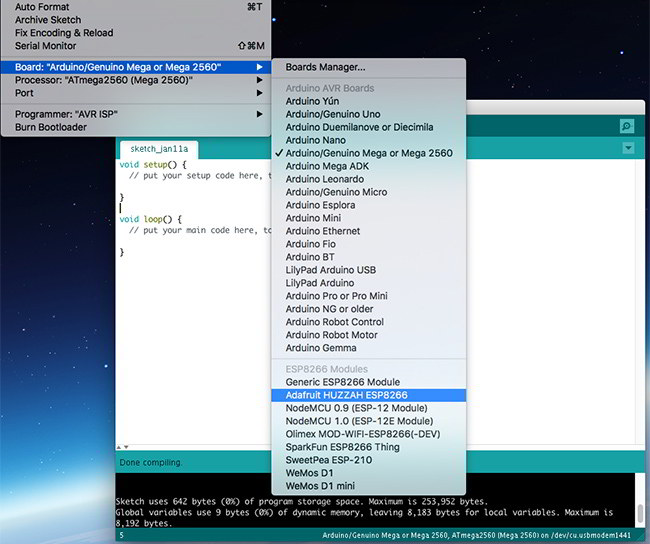
Open Boards Manager from Tools > Board menu and install ESP8266 platform (and don’t forget to select your ESP8266 board from Tools > Board menu after installation).
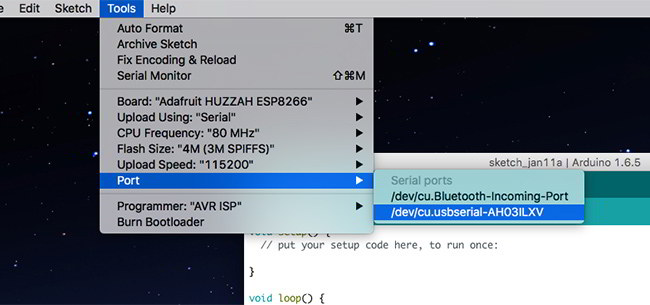
Note, you may need to change your port also:
Write the Code
The code to blink an LED is super simple. Create in the already familiar Arduino IDE:
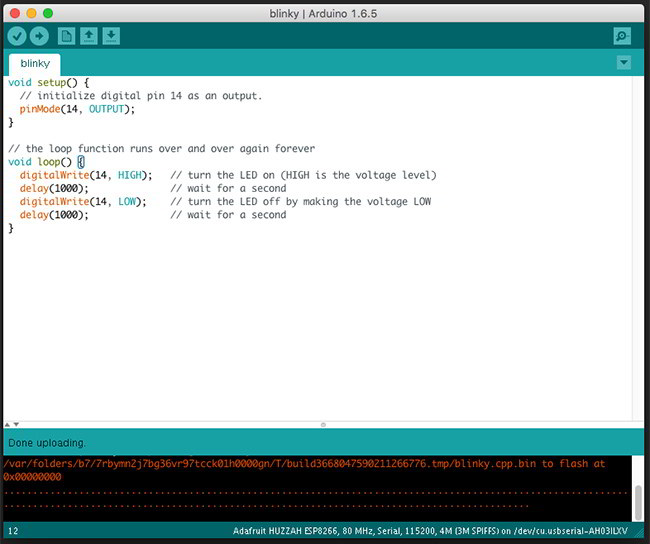
Here’s the actual code:
void setup() {
	// initialize digital pin 14 as an output.
	pinMode(14, OUTPUT);
}

// the loop function runs over and over again forever
void loop() {
	digitalWrite(14, HIGH);   // turn the LED on (HIGH is the voltage level)
	delay(1000);              // wait for a second
	digitalWrite(14, LOW);    // turn the LED off by making the voltage LOW
	delay(1000);              // wait for a second
}
In order to push the code to the ESP8266, you must hold down GPIO0 then press and release reset:
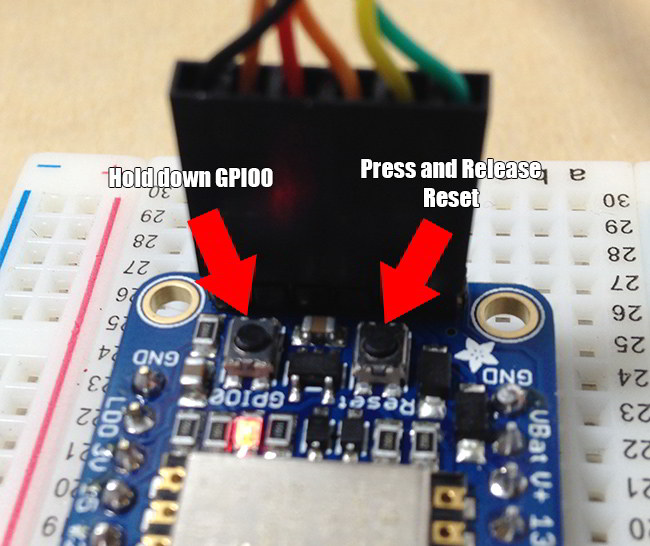
Once you see the red light dim, it’s ready to flash.
Once complete, you’ll have a blinking LED!
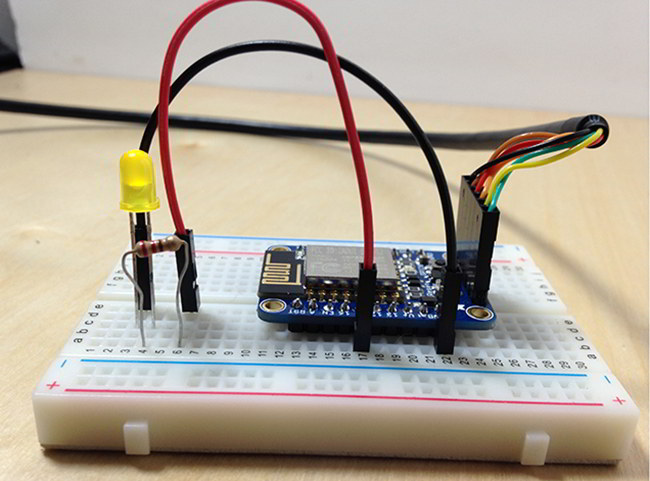
Playing with Sensors
I decided to get a little more creative and hook a couple sensors up to this. I am not going to go into great detail, if you want to do this head over to this repo and get code for turning your ESP8266 into a home temperature tracker. But it was super easy to set up.
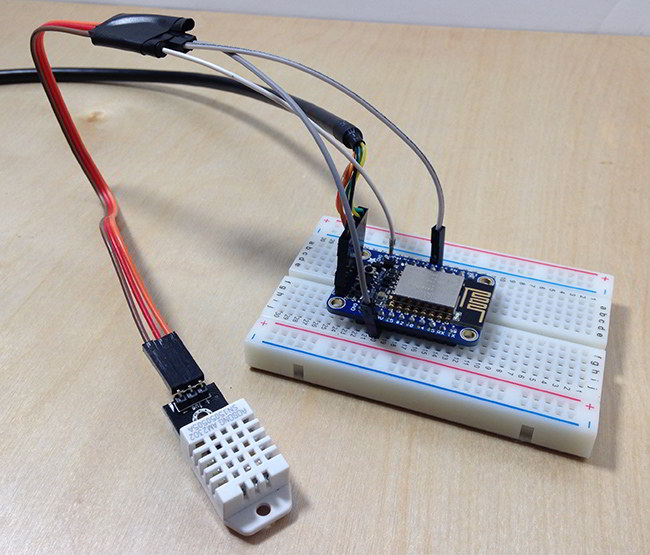
Using the Adafruit DHT Libraries and some code from the IoT home temp repo I was able to get it running in minutes. Very easy!
I even ended up sending the data to Sparkfun, you can see the live feed here –> data.sparkfun.com (it may go down at any time).
Conclusion
I really enjoyed the CC3000 Arduino Wifi breakout and would still use it if I needed additional data pins. With the ESP2866 product I have a much smaller footprint, it doesn’t even require an Arduino, and it is super easy to set up. Here’s how to know if you should use an ESP2866:
- You don’t need a full OS
- You have a few sensors
- You want to simply grab data and push it
This is where the ESP8266 really shines. It’s dead simple and does one thing and does it well. I can’t wait to start building more projects with this, and at $10 you really should too.
