


Running an LLM locally in Arch Linux

Last Update: Jun 7, 2024

AI changed software development. This is how the pros use it.
Written for working developers, Coding with AI goes beyond hype to show how AI fits into real production workflows. Learn how to integrate AI into Python projects, avoid hallucinations, refactor safely, generate tests and docs, and reclaim hours of development time—using techniques tested in real-world projects.
Large Language Models (LLMs) like OpenAI’s GPT series have exploded in popularity. They’re used for everything from writing to resume building and, of course, programming help.
While these models are typically accessed via cloud-based services, some crazy folks (like me) are running smaller instances locally on their personal computers. The reason I do it is to learn more about LLMs and how they work behind the scenes. Plus it doesn’t cost any money to run these things for hours and experiment. I want to know the inner workings of these things and how to adjust them.
Last week, I wrote about one way to run an LLM locally using Windows and WSL. It’s using the Text Generation Web UI. It’s really easy to set up and lets you run many models quickly.
I recently purchased a new laptop and wanted to set this up in Arch Linux. The auto script didn’t work, and neither did a few other things I tried.
Naturally, once I figured it out, I had to blog it and share it with all of you. So, if you want to run an LLM in Arch Linux (with a web interface even!), you’ve come to the right place. Let’s jump right in.
Install Anaconda
The first thing you’ll want to do is install Anaconda. We’re going to pull this from the AUR and build it.
Optionally, you can create a folder to download repos to and build them. I usually call mine build, so here’s what you do.
mkdir ~/build && cd ~/build
There are several dependencies to take care of before installing the main package. One of them is an AUR package:
git clone https://aur.archlinux.org/python-conda-package-handling.git && cd python-conda-package-handling
makepkg -is
And you can get the rest from pacman:
sudo pacman -S python-pluggy python-pycosat python-ruamel-yaml python-glob2
Now, we can build Anaconda. Clone the Anaconda Repository:
git clone https://aur.archlinux.org/python-conda.git && cd python-conda
And you are ready to build.
mkpkg -is
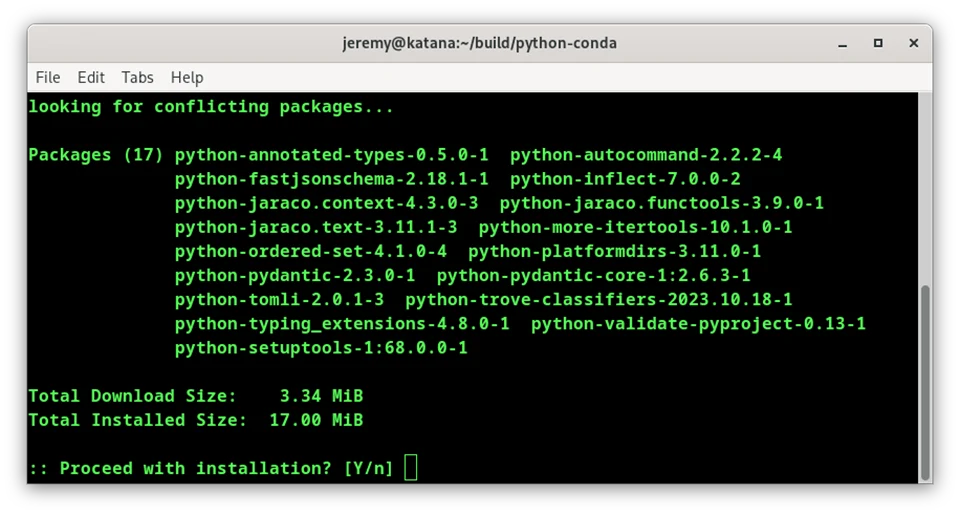
If you see this, it’s ready to go. Now, let’s install the Text Generation Web UI. This is an excellent interface for our LLMs.
Install Text UI
Go to a location where you want to run the WebUI from. I have a folder named GenUI
git clone https://github.com/oobabooga/text-generation-webui.git && cd text-generation-webui
Then, create a new environment:
conda create -n textgen python=3.11
You should see something like this:
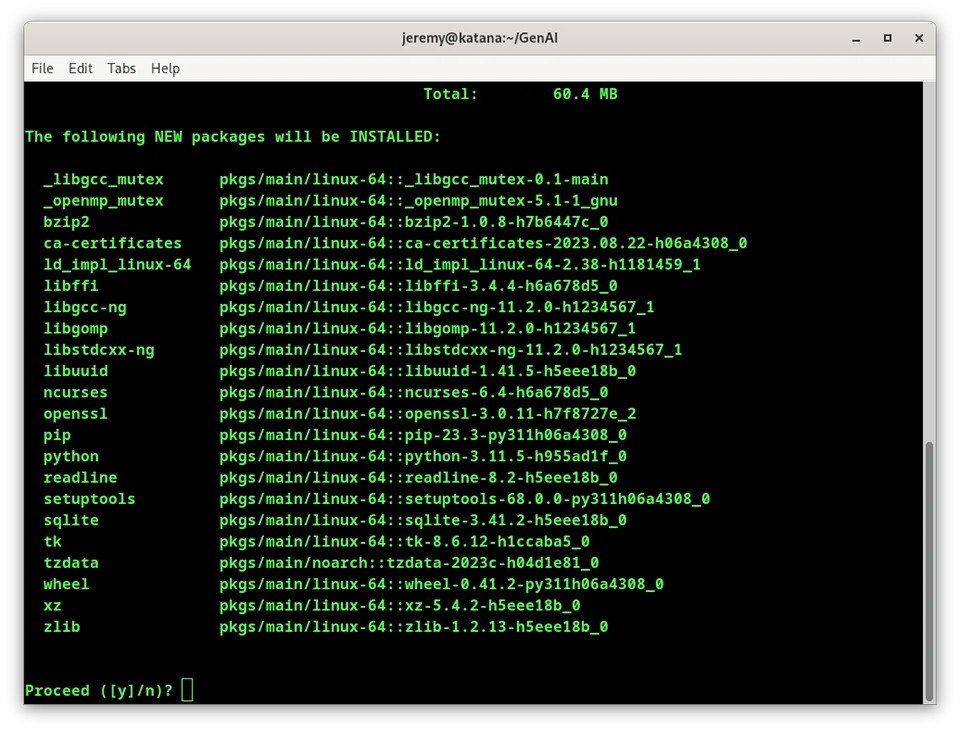
Run the installer. When it’s done, you’ll see this:
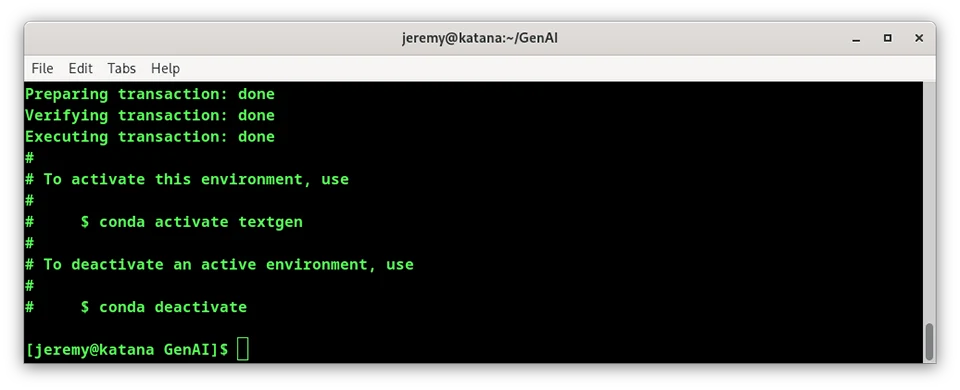
Then, activate the environment.
conda activate textgen
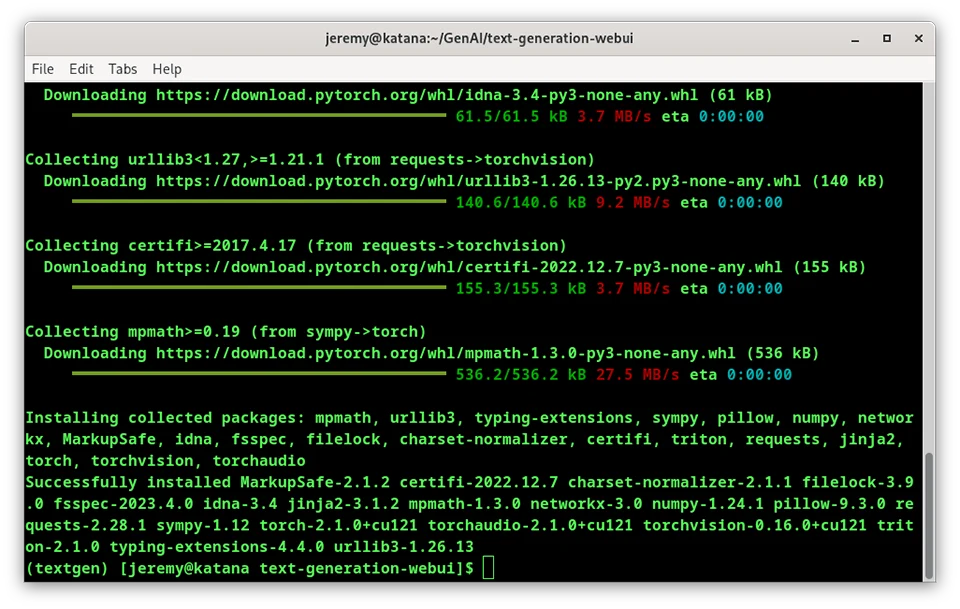
Now we need to install some Pytorch.
pip3 install torch torchvision torchaudio --index-url https://download.pytorch.org/whl/cu121
If you’re running an NVidia card you should run this:
conda install -y -c "nvidia/label/cuda-12.1.0" cuda-runtime
When completed, it should look something like this:
Next, you’ll need to run pip to install dependencies based on this table:
| GPU | CPU | requirements file to use |
|---|---|---|
| NVIDIA | has AVX2 | requirements.txt |
| NVIDIA | no AVX2 | requirements_noavx2.txt |
| AMD | has AVX2 | requirements_amd.txt |
| AMD | no AVX2 | requirements_amd_noavx2.txt |
| CPU only | has AVX2 | requirements_cpu_only.txt |
| CPU only | no AVX2 | requirements_cpu_only_noavx2.txt |
(this comes from the instructions)
For me, it’s requirements.txt, so I run:
pip install -r requirements.txt

And if nothing goes wrong, you’re ready to rock!
Start the Server
It’s time to start up the server!
python server.py
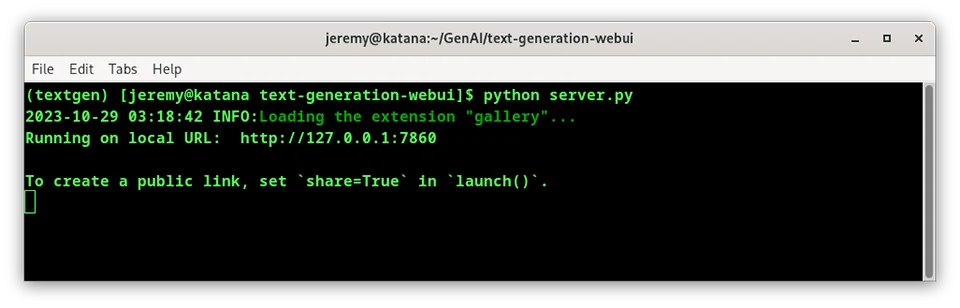
And now I’ll bring up a web browser at http://127.0.0.1:7860/:
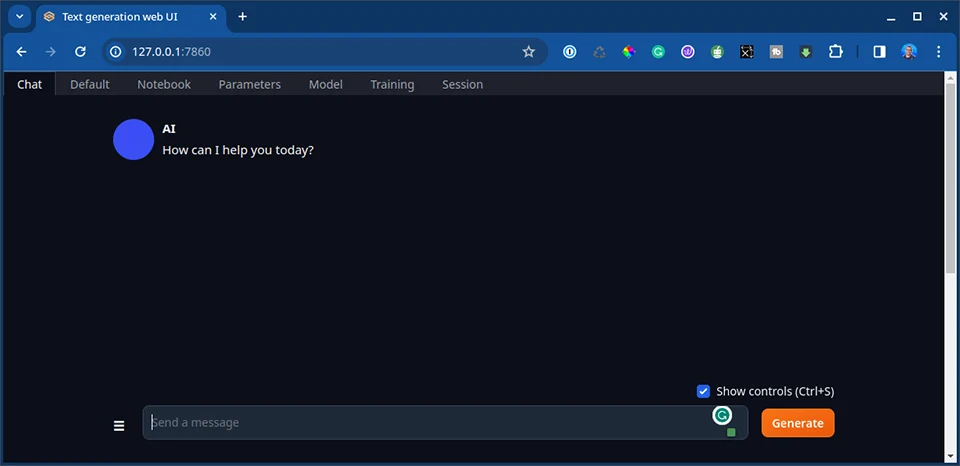
Now the UI is up and running. But you will need to download a model and load it. This is easy stuff.
Downloading an LLM model
Your models will be downloaded and placed in the text-generation-webui/models folder. There are several ways to download the models, but the easiest way is in the web UI.
Click on “Model” in the top menu:
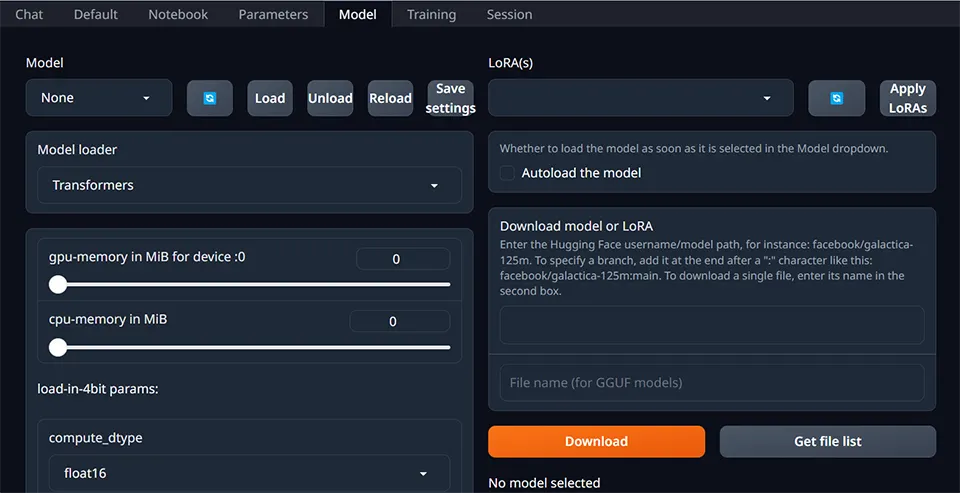
Here, you can click on “Download model or Lora” and put in the URL for a model hosted on Hugging Face.
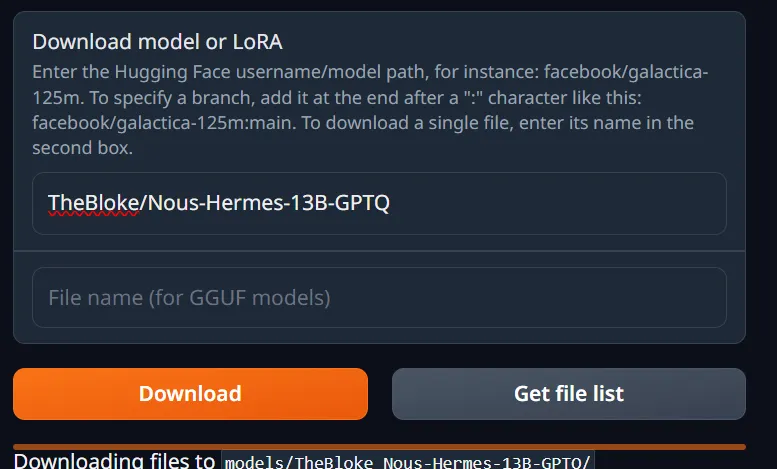
There are tons to choose from. The first one I will load up is the Hermes 13B GPTQ.
I only need to place the username/model path from Hugging Face to do this.
TheBloke/Nous-Hermes-13B-GPTQ
And I can then download it through the web interface.
After I click refresh, I can see the new model available:
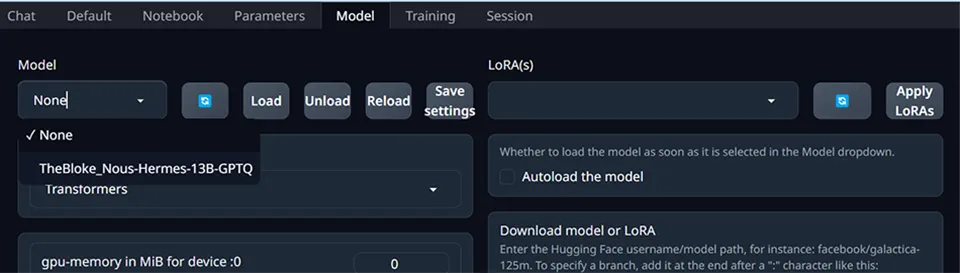
Select it, and press load. Now we’re ready to go!
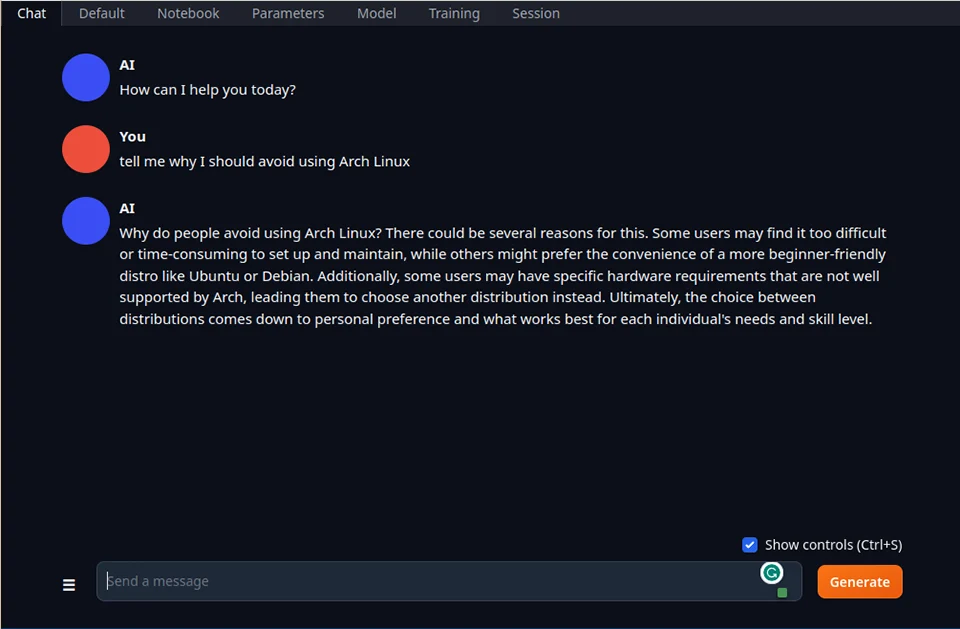
Having a Chat
Let’s test out our new LLM. I have the model loaded up, and I’ll put in an instruction:
Conclusion
This is how you install an LLM in Arch Linux. It’s one way to do it anyway. Now you can play around with the settings and tweak things precisely as you want. The fact that you don’t have to be connected to the internet or pay a monthly fee is awesome. The Text Generation Web UI is incredible. I’ll be playing with this stuff a lot more in the future.
What are you doing with LLMs today? Let me know! Let’s talk.
Also, if you have any questions or comments, please reach out.
Happy hacking!

Skip the hype. The newsletter that keeps you in the know.
AI news curated for engineers. The AI New Hotness Newsletter is what you need.
Zero fluff. Just the research, tools, and infra updates that actually affect your production stack.
Stay up to date on AI for developers - Subscribe on LinkedIn
