Running an LLM Locally on your machine
Last Update: Jun 7, 2024
I wrote a book! Check out A Quick Guide to Coding with AI.
Become a super programmer!
Learn how to use Generative AI coding tools as a force multiplier for your career.
So, you want to run a ChatGPT-like chatbot on your own computer? Want to learn more LLMs or just be free to chat away without others seeing what you’re saying? This is an excellent option for doing just that.
I’ve been running several LLMs and other generative AI tools on my computer lately. I’ve discovered this web UI from oobabooga for running models, and it’s incredible. You have a ton of options, and it works great.
That’s what we will set up today in this tutorial.
The easy way
If you’re in Windows using WSL, you can run a simple batch file, and it might work great. Super easy.
Clone the repo:
git clone https://github.com/oobabooga/text-generation-webui.git
Then run the batch file:
start_wsl.bat
It will ask you to choose your GPU/platform setup:

And it’s up and running:

If this works, skip to the Run the WebUI step.
But if it fails (which I’ve seen), you must do it manually. Below are the instructions to install it manually in WSL. It’s also the instructions to install this in regular old Linux. Let’s get started.
Install Anaconda
I’m using Ubuntu in WSL. So here are the commands we’ll run:
sudo apt-get update
Always a good idea.
sudo apt-get install wget
Change into the tmp directory:
cd /tmp
Then, we want to get the latest version of the installation script from this directory. At the time of this writing, this is the most current version for Linux-x86_64:
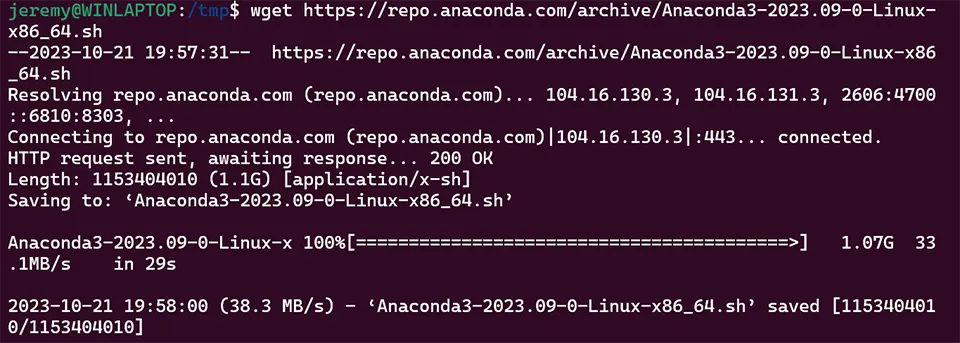
wget https://repo.anaconda.com/archive/Anaconda3-2023.09-0-Linux-x86_64.sh
This script is huge. After it’s done downloading, you should see something like this:
Then you’ll want to validate it:
sha256sum Anaconda3-2023.09-0-Linux-x86_64.sh
and if you don’t see any errors, you’re good to go:

Now it’s time to run it!
bash Anaconda3-2023.09-0-Linux-x86_64.sh
Accept the license terms (if you want to use it) and press enter.
It will ask where you want to install it. I chose the default location:

Then, grab a beverage and wait a while. I prefer ice water with lemon.
It’s going to ask if you want to initialize Conda automatically. I do a ton of Python stuff, so I select yes. Choose whatever works best for you.

Now exit the shell and restart your WSL window.
Install the Text UI
Next, we will install the Web UI interface for our models. This is a Gradio web UI for Large Language Models.
As stated in the repo, their goal is to become the AUTOMATIC1111/stable-diffusion-webui of text generation.
Clone it into a folder you’ll want to work in:
git clone https://github.com/oobabooga/text-generation-webui.git
Now type in
conda deactivate
If you have a base version running. We’ll then create a new environment:
conda create -n textgen python=3.11
conda activate textgen
If you see (textgen) in front of your prompt, it’s working.

Now, we need to install PyTorch. I’m using an NVidia card, so I type in:
pip3 install torch torchvision torchaudio --index-url https://download.pytorch.org/whl/cu121
If you aren’t using an NVidia card and want to do CPU only, use this:
pip3 install torch torchvision torchaudio --index-url https://download.pytorch.org/whl/cpu
You’ll see a lot of this:

Wait for it to finish. If you are running an NVidia card, you may need to do this:
conda install -y -c "nvidia/label/cuda-12.1.0" cuda-runtime
Next, we need to install some more dependencies. This will depend on your machine.
cd text-generation-webui
pip install -r <requirements file according to table below>
Requirements file to use:
| GPU | CPU | requirements file to use |
|---|---|---|
| NVIDIA | has AVX2 | requirements.txt |
| NVIDIA | no AVX2 | requirements_noavx2.txt |
| AMD | has AVX2 | requirements_amd.txt |
| AMD | no AVX2 | requirements_amd_noavx2.txt |
| CPU only | has AVX2 | requirements_cpu_only.txt |
| CPU only | no AVX2 | requirements_cpu_only_noavx2.txt |
(this comes from the instructions)
After everything is installed, you should be ready to run the WebUI.
Run the WebUI
Now we’re ready to run! In the text-generation-webui directory, run the following:
python server.py
And you should see this:

Awesome! Let’s load it up in the web browser:
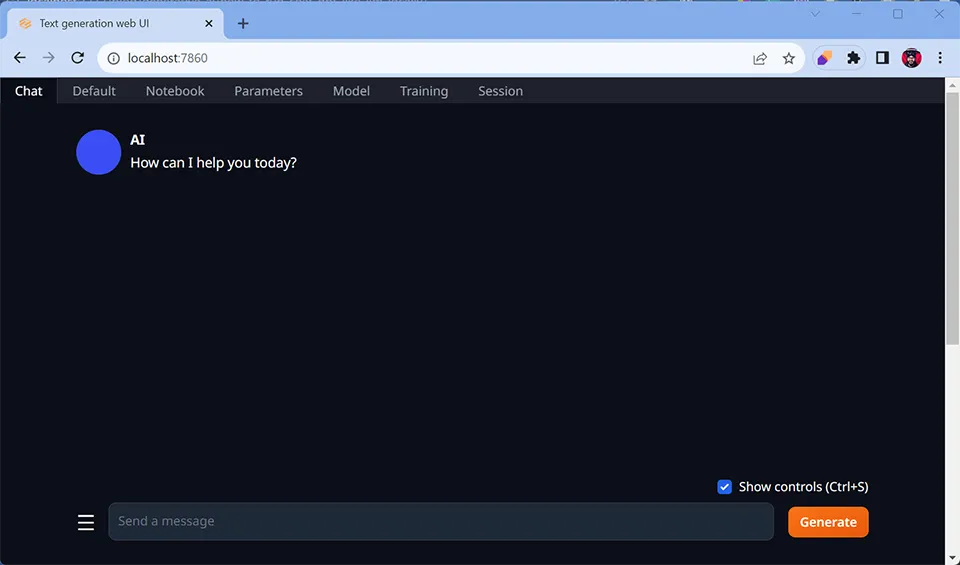
If you see this, you’re golden! However, you can’t do anything with it yet. You’ll need a model.
Downloading an LLM model
Your models will be downloaded and placed in the text-generation-webui/models folder. There are several ways to download the models, but the easiest way is in the web UI.
Click on “Model” in the top menu:
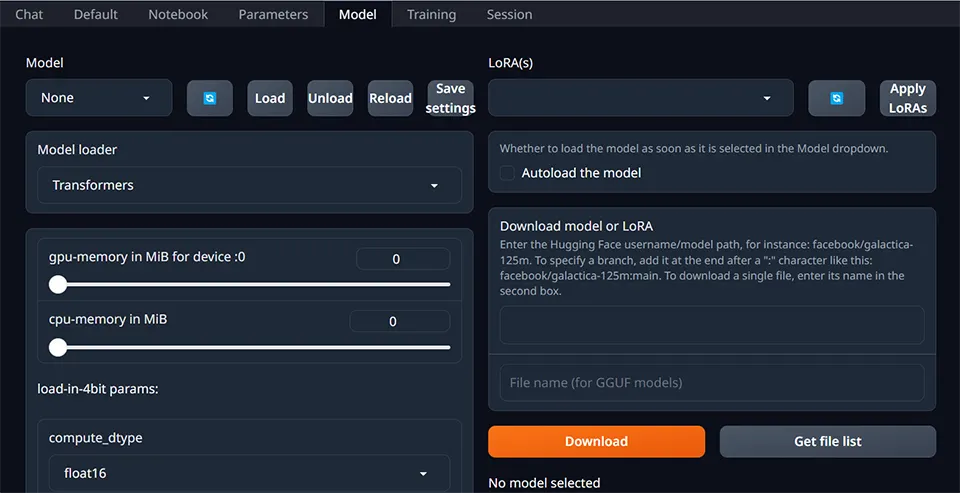
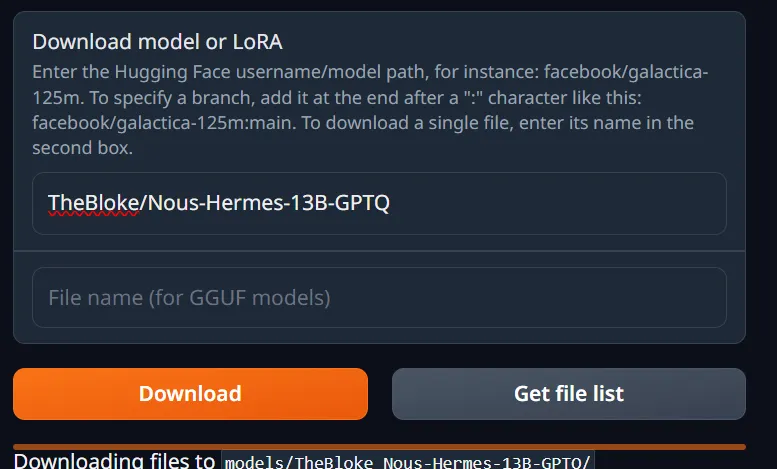
Here, you can click on “Download model or Lora” and put in the URL for a model hosted on Hugging Face.
There are tons to choose from. The first one I will load up is the Hermes 13B GPTQ.
I only need to place the username/model path from Hugging Face to do this.
TheBloke/Nous-Hermes-13B-GPTQ
And I can then download it through the web interface.
After I click refresh, I can see the new model available:

Select it, and press load. Now we’re ready to go!
Having a Chat
There are a ton of parameters you can adjust. You can get lost in the settings, and once I learn more about it, I’ll certainly share it here.
Here was my test chat:
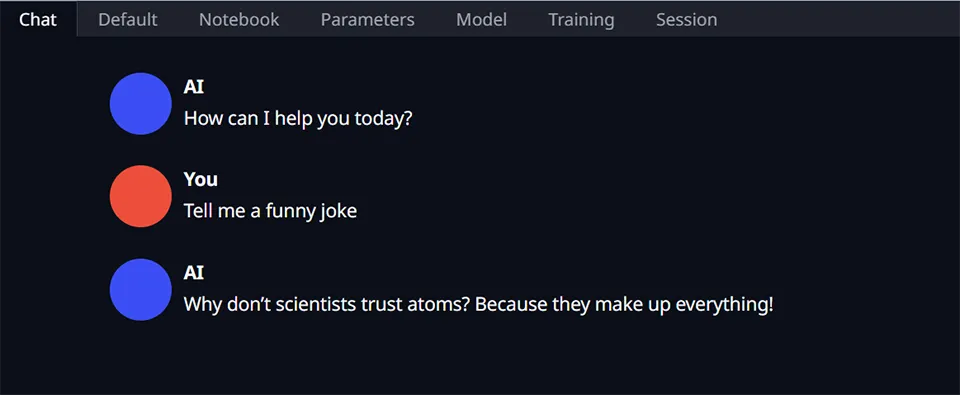
Hey! It works! Awesome, and it’s running locally on my machine.
I decided to ask it about a coding problem:

Okay, not quite as good as GitHub Copilot or ChatGPT, but it’s an answer! I’ll play around with this and share what I’ve learned soon.
Conclusion
You may want to run a large language model locally on your own machine for many reasons. I’m doing it because I want to understand LLMs better and understand how to tune and train them. I am deeply curious about the process and love playing with it. You may have your own reasons for doing it, such as content generation or a chatbot to joke around with. The fact that you don’t have to be connected to the internet or pay a monthly fee is awesome.
What are you doing with LLMs today? Let me know! Let’s talk.
Also if you have any questions or comments, feel free to reach out.
Happy hacking!


