


How to Install Anaconda in Arch Linux from the AUR

Jeremy Morgan 
Nov 19, 2023 - 4 min read
Last Update: Jun 7, 2024

AI changed software development. This is how the pros use it.
Written for working developers, Coding with AI goes beyond hype to show how AI fits into real production workflows. Learn how to integrate AI into Python projects, avoid hallucinations, refactor safely, generate tests and docs, and reclaim hours of development time—using techniques tested in real-world projects.
There are several different ways to install Anaconda in Arch Linux. This is the way I prefer to do it, and after reading a couple of comments that said things like “Installing via the AUR is hairy” or troublesome, I decided to share this guide.
It’s easy to install Anaconda through the AUR. In this article, we’ll show you how to quickly grab prerequisites and install Conda. Then you’ll activate your first Conda environment. By the end, you’ll have a fully functional Anaconda installation ready for your data science projects.
Prerequisites: Setting the Stage
Before diving into installation, it’s crucial to prepare your system. Start by updating Arch Linux to ensure compatibility:
sudo pacman -Syu
Next, install the dependencies for Anaconda:
sudo pacman -Sy python-pluggy python-pycosat python-ruamel-yaml
Then you need to get this package from the AUR:
git clone https://aur.archlinux.org/python-conda-package-handling.git && cd python-conda-package-handling
makepkg -is
This will cover all the prerequisites for Conda in Arch Linux.
Installing Conda: The Heart of the Process
With the prerequisites out of the way, we move to the core installation steps. Begin by obtaining the Anaconda package from the AUR:
git clone https://aur.archlinux.org/python-conda.git && cd python-conda
makepkg -is
Verify your installation by running:
conda --version
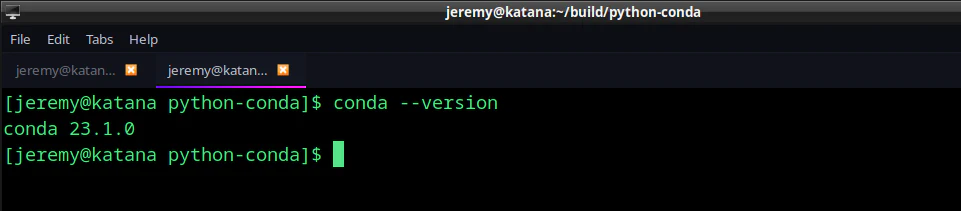
Perfect! Now there are a few things we’ll want to do.
Configuring Conda: Tailoring Your Experience
After installation, configuring Conda to suit your needs is the next step. Start by installing Miniforge. This process involves downloading and executing a shell script:
wget https://github.com/conda-forge/miniforge/releases/latest/download/Miniforge3-Linux-x86_64.sh
./Miniforge3-Linux-x86_64.sh
When the script runs, you’ll see the installer go. Read through and accept the terms.

Then you’ll see this screen confirming the installation location:
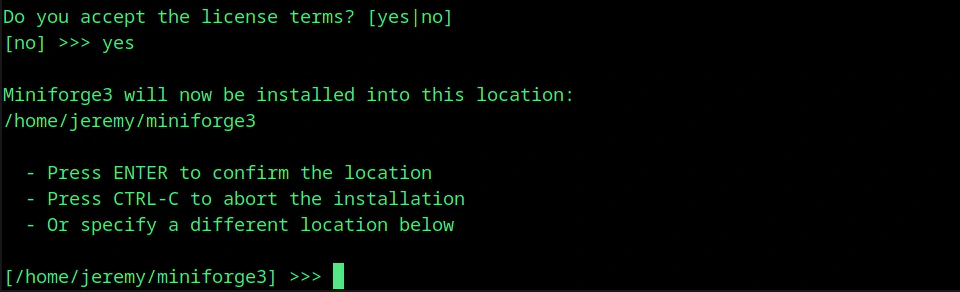
Press enter to confirm, and then you decide whether to initialize Miniforge3 with Conda init. This changes how Conda behaves moving forward.

Here, you also decide whether to initialize Miniforge3 with Conda init – a choice that shapes your future interaction with Conda.
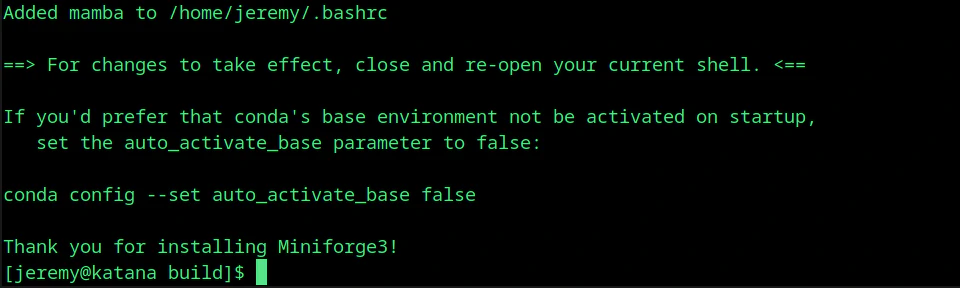
There are several reasons not to start it automatically. One reason is the version of Python in your base installation may interfere with other system programs. I prefer to keep it all separate.
I don’t want the base environment activated automatically, so I run this command:
conda config --set auto_activate_base false
You can also edit ~/.condarc
and add
auto_activate_base: false
Or true, if you’d like. And save the file.
Using the libmamba solver
The libmamba solver can optimize package resolution. Install it with:
conda install -n base conda-libmamba-solver
You’ll see this:
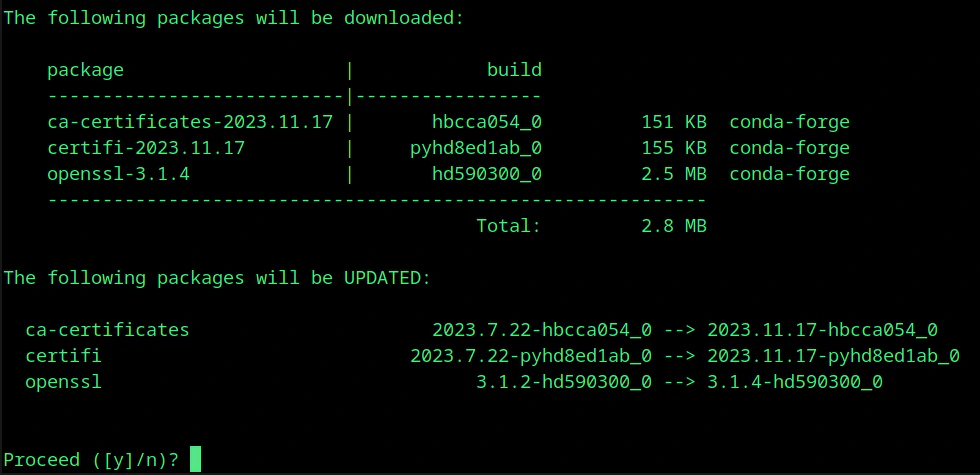
and proceed. Then
edit ~/.condarc and add:
solver: libmamba
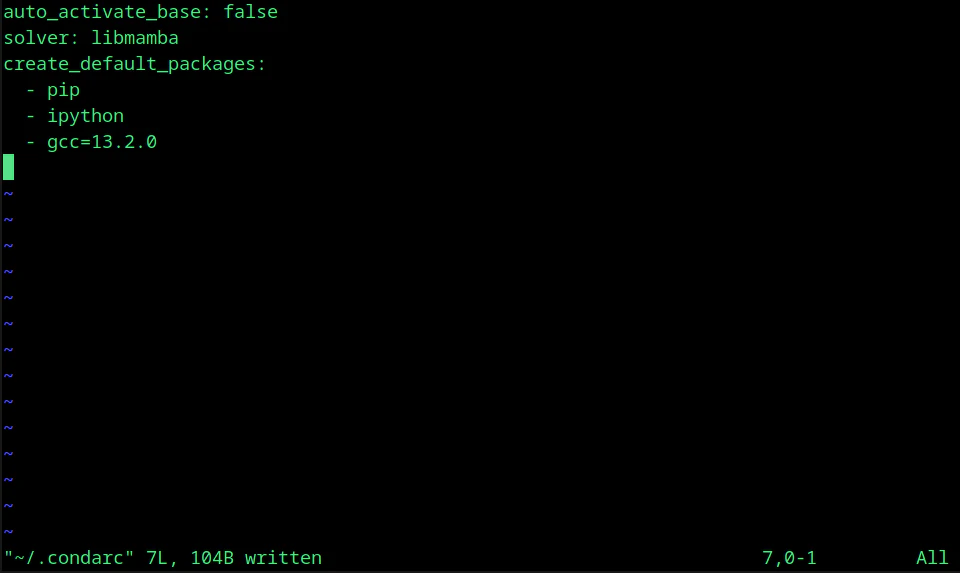
And while we have the ~/.condarc file open, we can select our default packages.
Set Default Packages Conda
You can set your default packages for Conda environments when you set them up. Since I do a wide variety of things with Python, I prefer to keep it lean.
I will add this to my ~/.condarc:
create_default_packages:
  - pip
  - ipython
  - gcc=13.2.1
This ensures when I create a new environment, there won’t be a bunch of stuff in there I don’t care about.
Here’s what my final ~/.condarc looks like:
Now we’re ready to go. Let’s test it out!
Creating Your First Conda Environment
Now, let’s put your setup to the test. Create a new environment with:
conda create --name {name of your environment}
I used “myproject” for the name, you should see something like this:
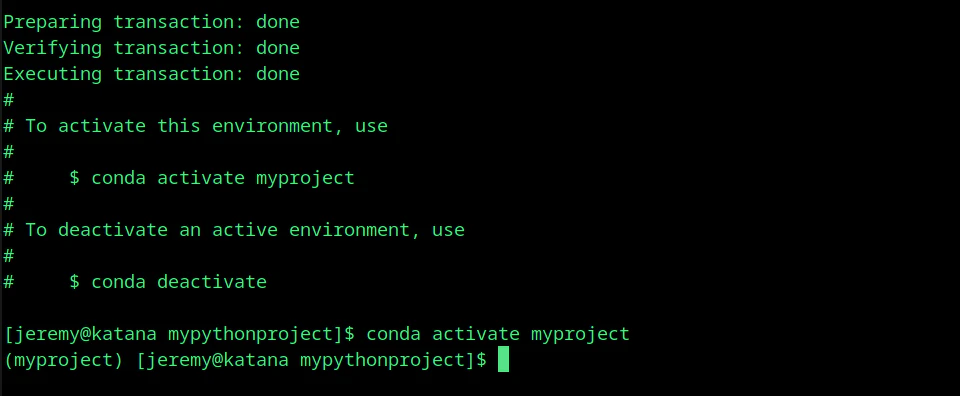
And you’re ready to go!
If you’d like to update later, you can run:
conda update -n base -c conda-forge conda
Conclusion
In this tutorial, we:
- Updated the system
- Installed pre-requistes for Anaconda
- Configured Anaconda
- Created a test environment
Congrats! You’ve successfully installed Anaconda, configured it to your preferences, and created your first environment. This setup provides an excellent foundation for various Python-based projects in Arch Linux and is a great way to develop. I always recommend using virtual environments in Python because it saves you many headaches later.
If you have any questions or comments, Yell at me!

Skip the hype. The newsletter that keeps you in the know.
AI news curated for engineers. The AI New Hotness Newsletter is what you need.
Zero fluff. Just the research, tools, and infra updates that actually affect your production stack.
Stay up to date on AI for developers - Subscribe on LinkedIn
