


How to Move Objects in Unity 3D

Jeremy Morgan 
Feb 26, 2023 - 7 min read
Last Update: Jun 7, 2024

AI changed software development. This is how the pros use it.
Written for working developers, Coding with AI goes beyond hype to show how AI fits into real production workflows. Learn how to integrate AI into Python projects, avoid hallucinations, refactor safely, generate tests and docs, and reclaim hours of development time—using techniques tested in real-world projects.
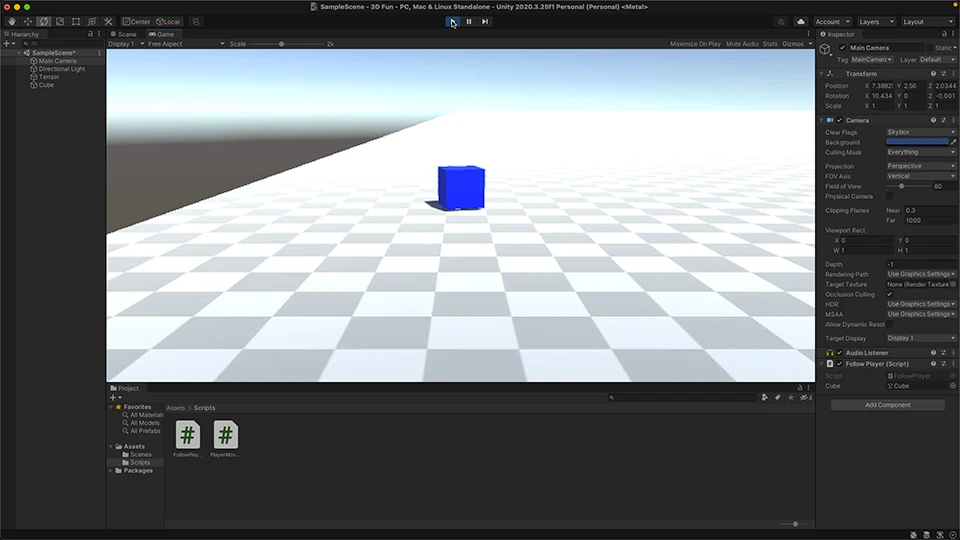
So you want to move a 3D object in Unity? It’s easier than you think! You can learn how to do it with a few lines of code.
In this tutorial, we’ll create a Unity project from scratch. If you prefer video, you can watch this tutorial as a video here
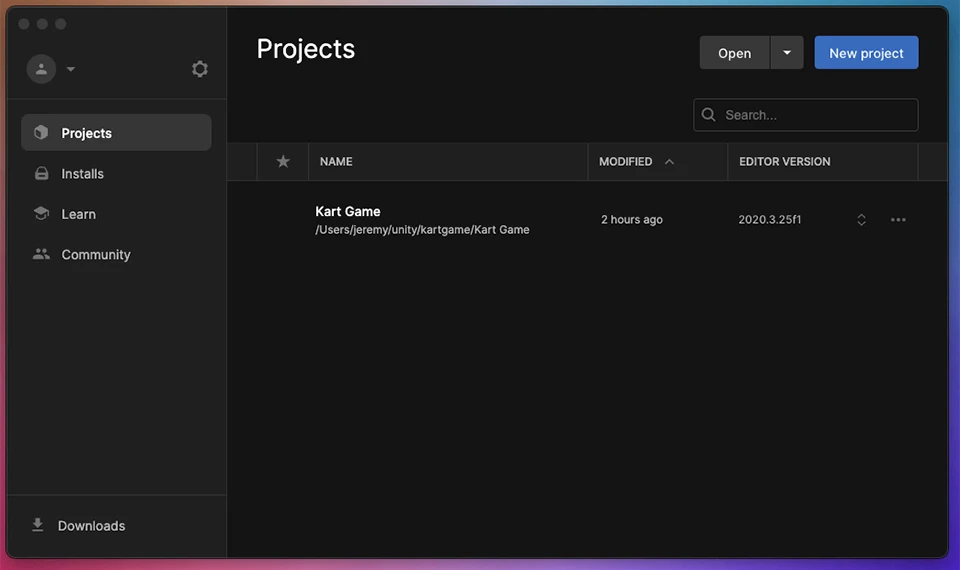
Load up the Unity Hub. Lets create a new project.
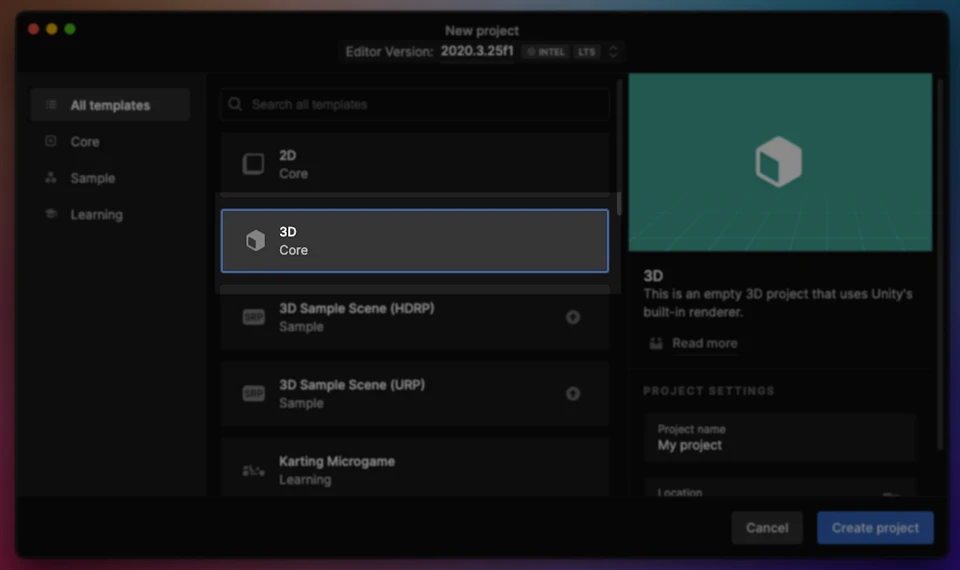
In this first window, click on “New Project”
Select “3D Core”. Select a name for your project and a file location.
Now we have a brand new Unity project.
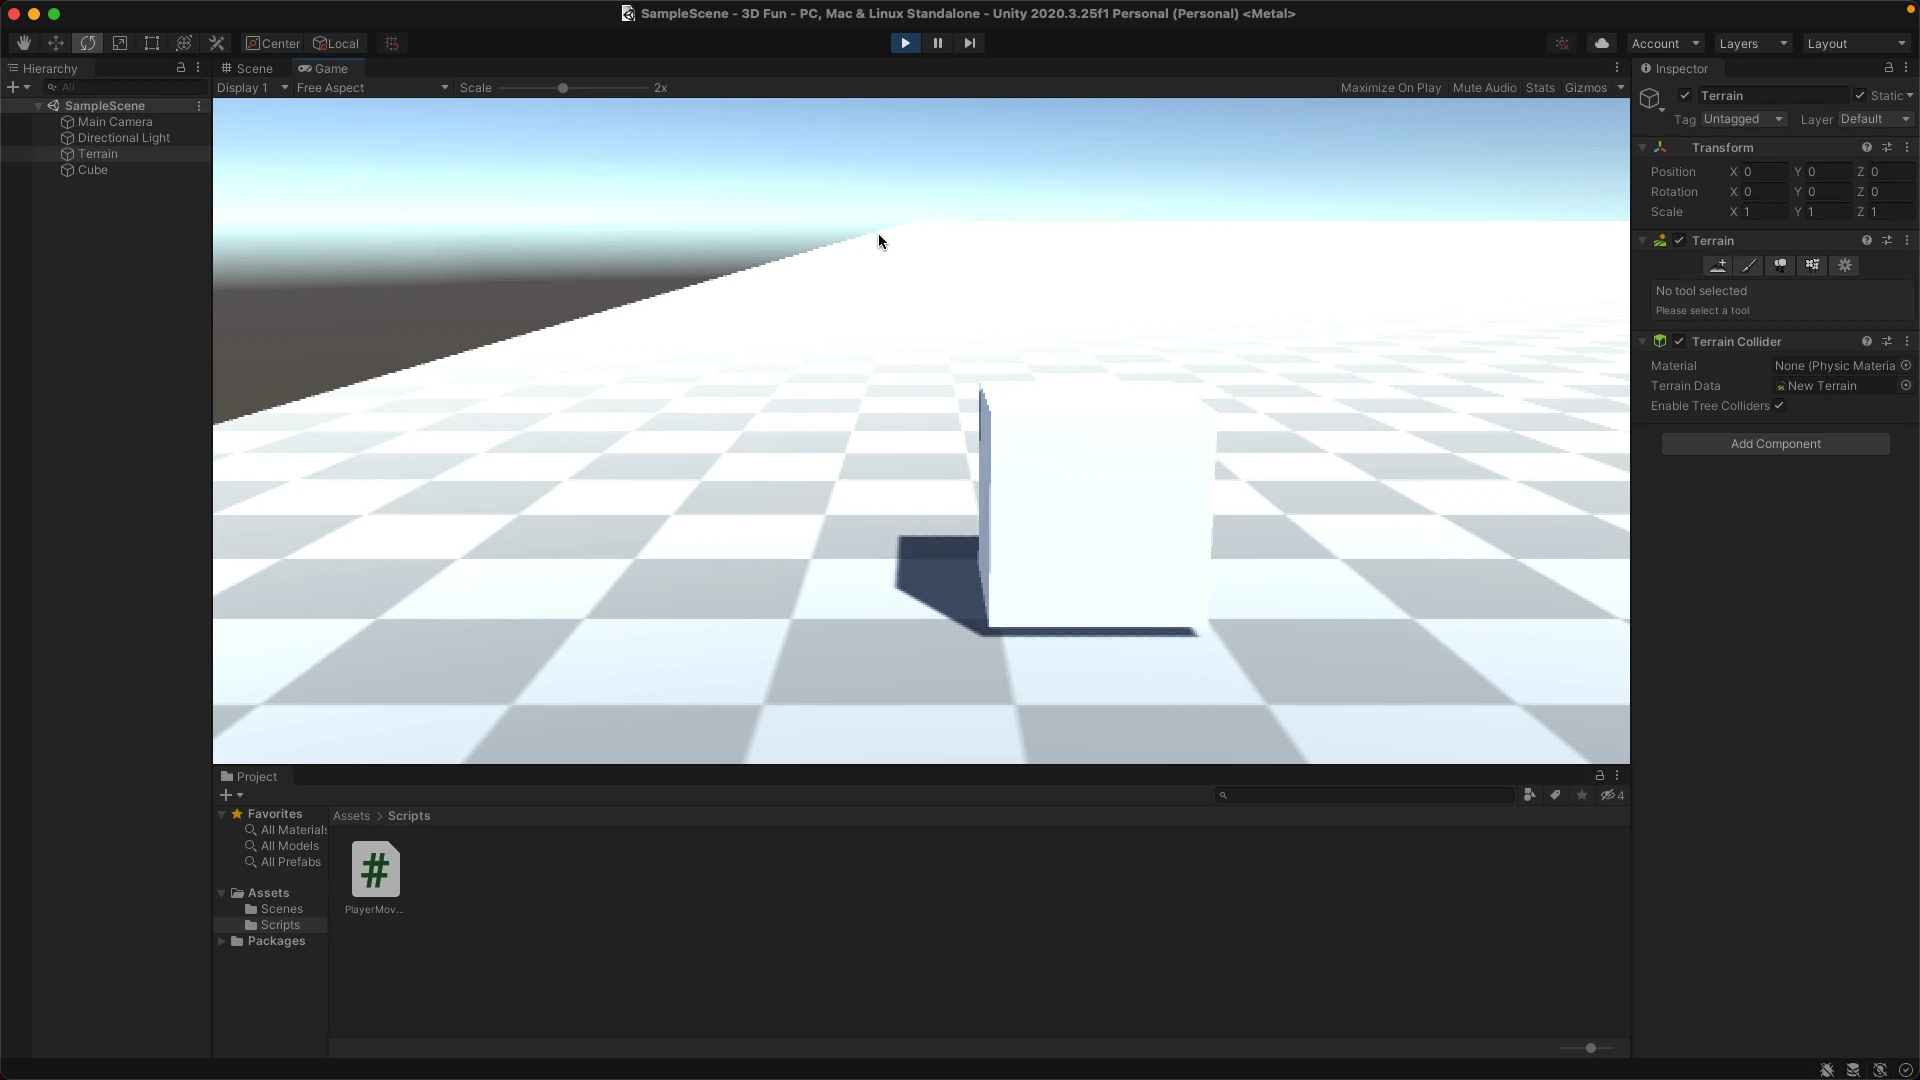
Add Terrain
The first thing we’ll do is add some terrain. This will be just a plane that we can put our objects on.
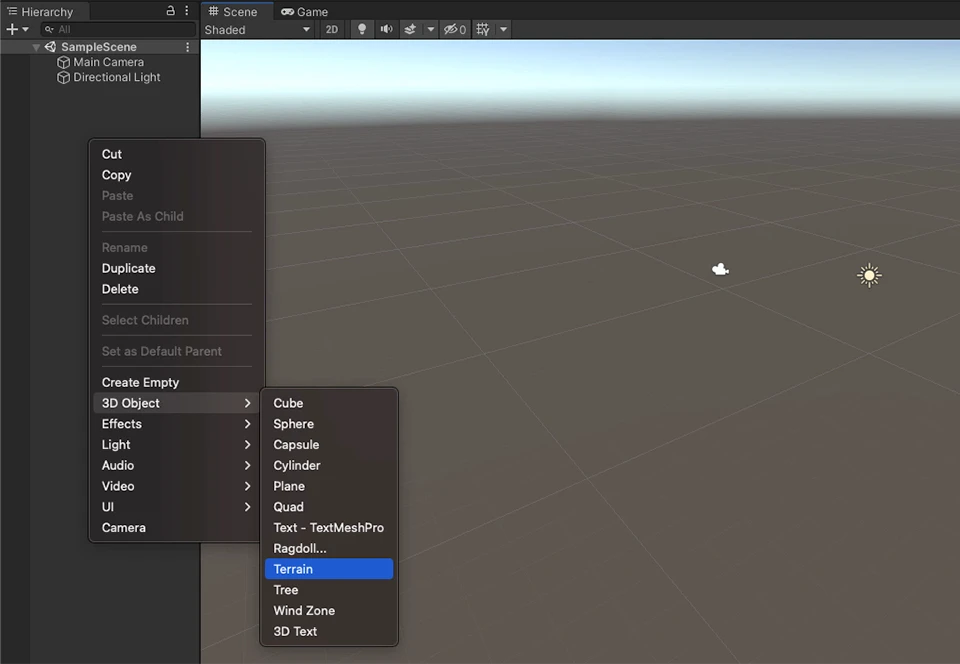
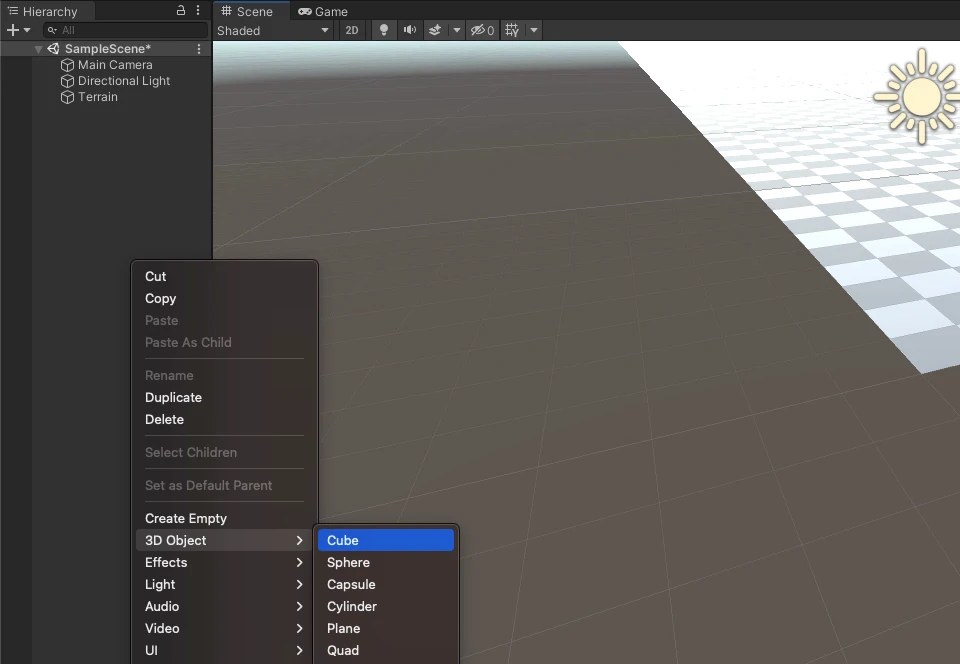
Right-click in the hierarchy, and we’ll create a new Game Object.
Select GameObject > 3D Object > Terrain
Then we will add the object we’re going to move around. This is going to be our player.
Again right-click in the hierarchy and select:
GameObject > 3D Object > Cube
Create the Scripts
Now, right-click on assets
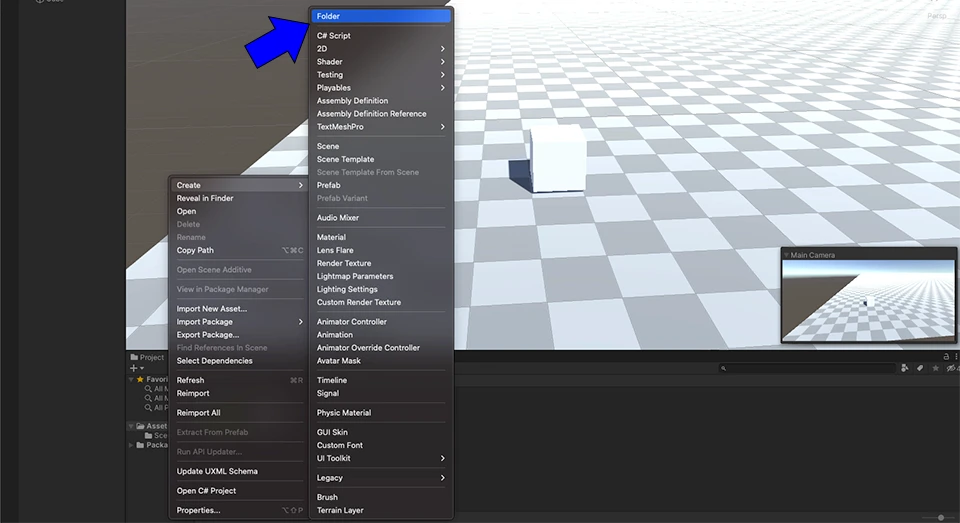
And create a new folder named Scripts. This is going to house our C# files to make the game work.
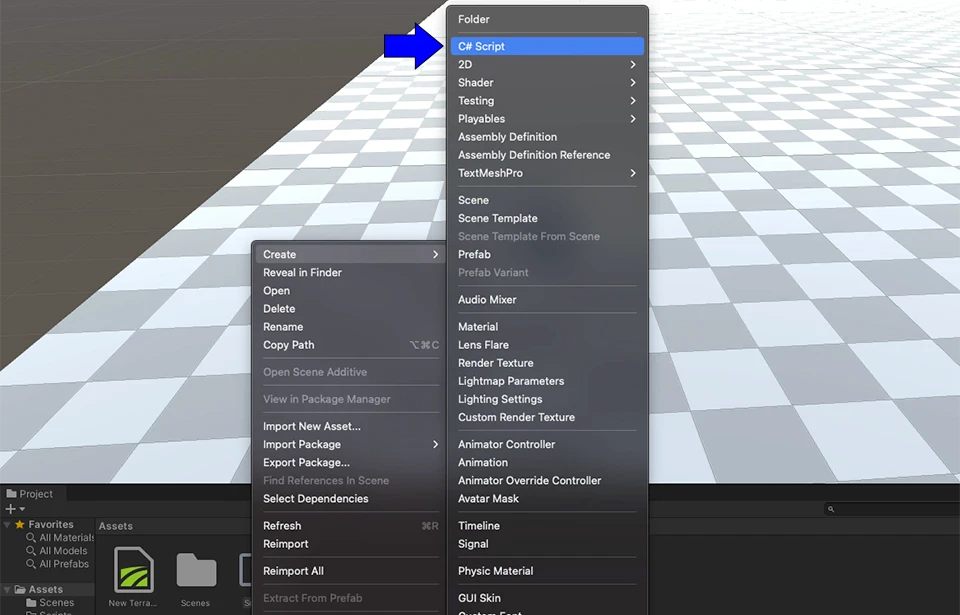
Right-click on the assets folder to create new C# script
I’m going to name it player movement.
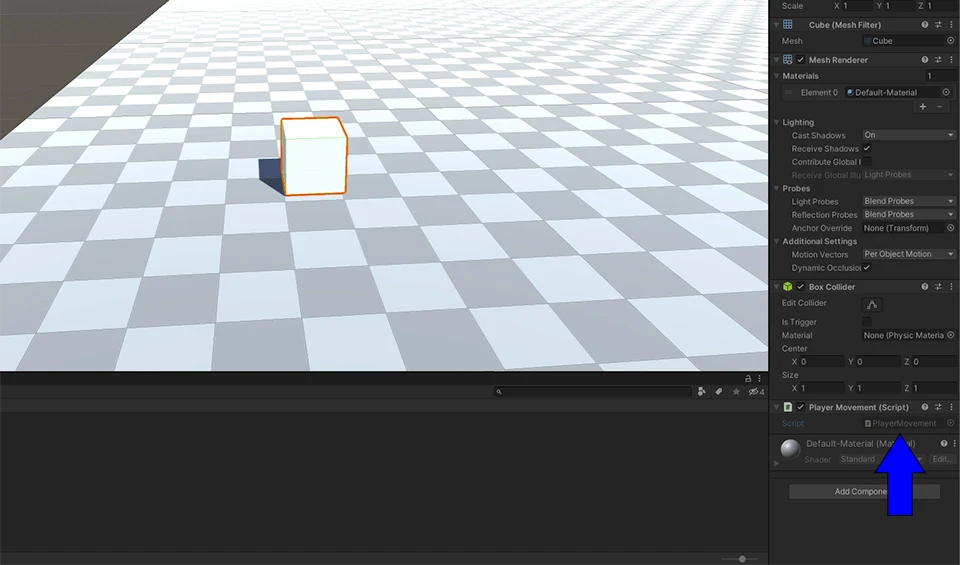
Drag the script onto the cube.
Now, let’s open the script.
Select the game object, locate the script and click here.
Now it opens up in your editor.
At the top of the class, we’re going to add
public float horizontalInput;
public float verticalInput;
These properties store the horizontal and vertical input that comes from the player. It’s a temporary storage area. We’ll take input from the keyboard in axis values and store it here. Then later, Unity can access these values to move our player.
We’ll get the axis values in our update method and populate those fields.
// Update is called once per frame
void Update()
{

}
If you remember from previous tutorials, the update method runs continually throughout the game. It’s read once per frame, so any changes here are noticed immediately.
Let’s read the values from our keyboard and store them in those properties we just created.
horizontalInput = Input.GetAxis("Horizontal");
verticalInput = Input.GetAxis("Vertical");
Next, we’ll add the player movement:
transform.Translate(Vector3.forward * Time.deltaTime * verticalInput);
transform.Translate(-Vector3.right * Time.deltaTime * horizontalInput);
Let’s check this code a little closer.
transform.Translate(Vector3.forward * Time.deltaTime * verticalInput);
The first line moves the player forward and backward based on the player’s input.
transform is the transform component of a game object. This object contains information such as position, rotation, and scale.
Translate is a built-in method in Unity that allows you to move a game object a certain distance in a certain direction.
Vector3.forward is the forward direction of a game object and moves in the direction it’s facing.
Time.deltaTime is the time that has passed since the last frame. This is used to make movement smooth, no matter how fast or slow your device is. I’ll make a video about this soon.
verticalInput is the value we received from the keyboard. It can be positive or negative. If it’s positive, we go forward. If it’s negative, we go backward.
The second line of code is very similar but controls right vs. left movements similarly.
transform.Translate(-Vector3.right * Time.deltaTime * horizontalInput);
So, now that we understand it let’s try it out.
When you go back to the Unity screen, it will compile the script you just built.
Run the application
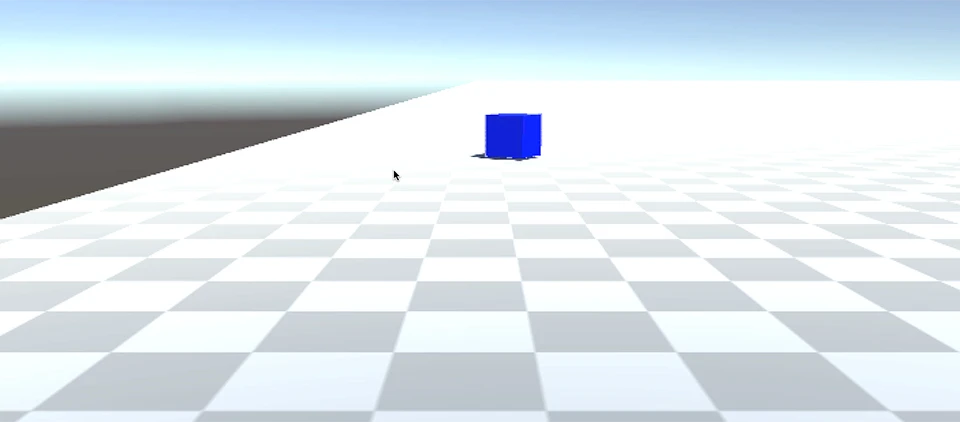
Now you can run the application, and the block will move back and forth with the arrow keys on your keyboard.
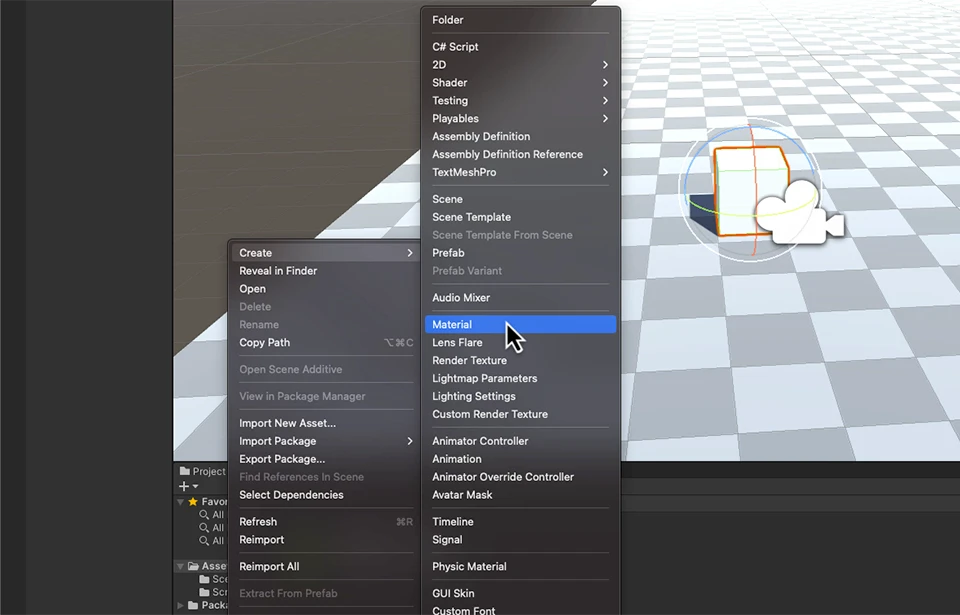
This is pretty washed out. Let’s change the object’s color because It’s hard to see right now.
Right-click in assets, and create a new material.
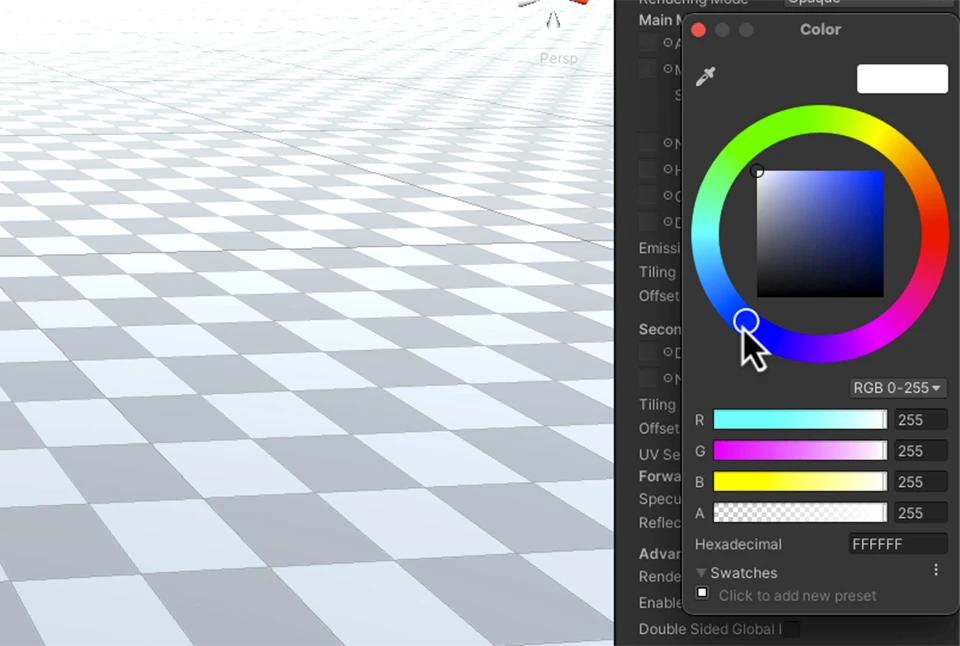
You can choose a color for your material and save it.
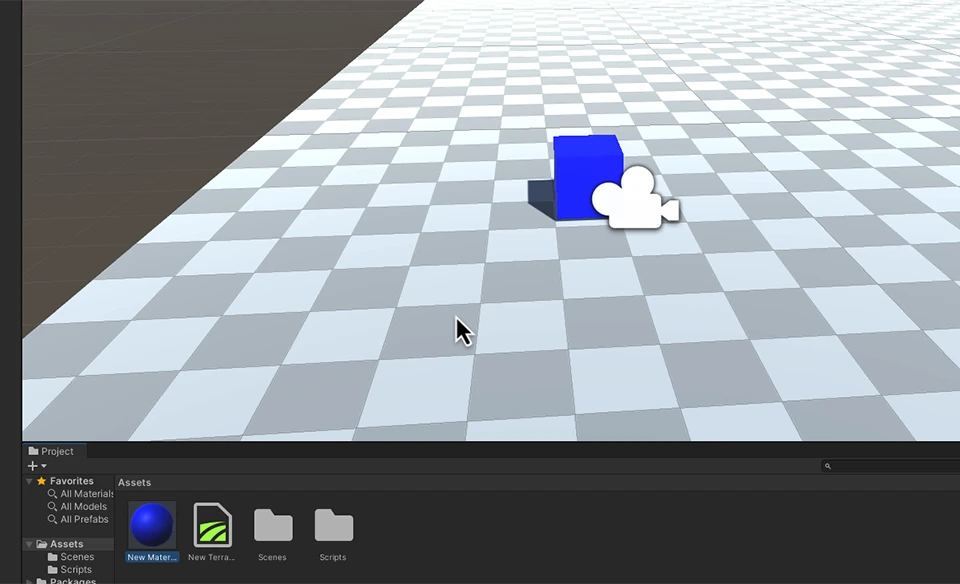
Then drag that material onto your game object.
When you move the object, notice it strafes along when you go right or left.
Objects don’t slide left and right like in real life.
Let’s add a rotation to make it more realistic.
We want this to behave more like a car.
Select the object, and open up the player movement script again.
Let’s create a public float named turn speed.
Underneath:
public float horizontalInput;
public float verticalInput;
Add
public float turnSpeed = 10;
This will be the speed the object rotates when you press left or right. Since we’re moving forward, our object should continue to move in the direction we point it.
Now let’s change the transform method:
Change:
transform.Translate(-Vector3.right * Time.deltaTime * horizontalInput);
To:
transform.Rotate(Vector3.up * horizontalInput * turnSpeed * Time.deltaTime);
Here we use another built-in method in Unity to rotate instead of transform.
Then we are using the up direction.
Multiplying it by our turn speed and again using Time.deltaTime to make it smooth.
So, instead of moving the object to the right or left, we’ll rotate it.
Run it again to see how it behaves.
Now it steers more realistically. It’s behaving somewhat like a car.
Here is the full code:
PlayerMovement.cs
using System.Collections;
using System.Collections.Generic;
using UnityEngine;

public class PlayerMovement : MonoBehaviour
{
    public float horizontalInput;
    public float verticalInput;
    public float turnSpeed = 10;

    // Start is called before the first frame update
    void Start()
    {

    }

    // Update is called once per frame
    void Update()
    {
        // read values from keyboard
        horizontalInput = Input.GetAxis("Horizontal");
        verticalInput = Input.GetAxis("Vertical");

        // move the object
        transform.Translate(Vector3.forward * Time.deltaTime * verticalInput);
        transform.Rotate(Vector3.up * horizontalInput * turnSpeed * Time.deltaTime);
    }
}
And this works great. We can drive the cube around like a car. If it were a person walking, it would also be more realistic.
But we have a problem. If we drive it too long, it will leave the screen.
Let’s make the camera follow it.
Camera
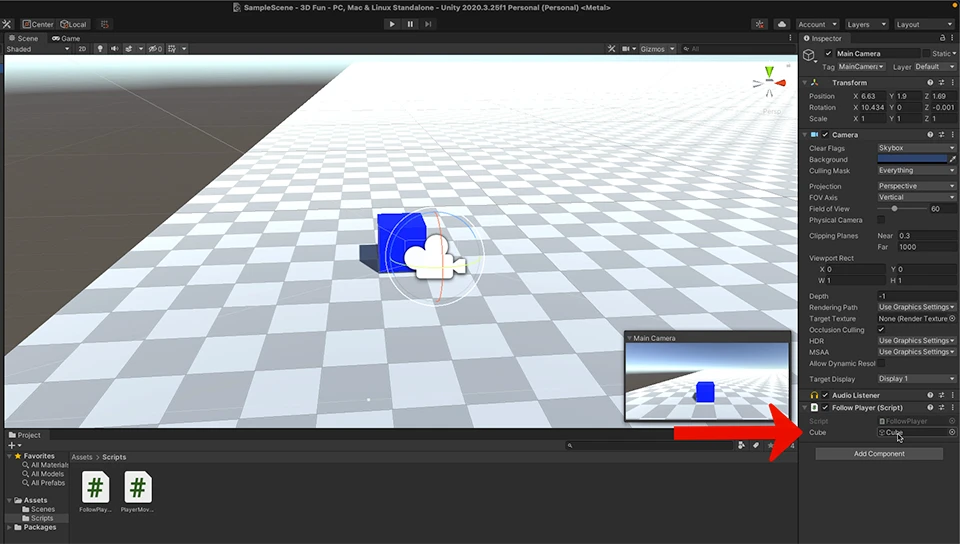
Create a new C# script called FollowPlayer and attach it to the camera.

Let’s open up that script.
Add public GameObject cube; to the top of the script.
public GameObject cube;
Ah! we have a new concept here. What does this line of code do?
It declares a public variable of a GameObject type. We are naming this variable cube so we can use it later.
Unity will have to pass a Game Object into this variable so we can work with it. And I’ll show you how to do that in a minute.
We can then read this game object to see where it is, and move the camera to wherever it’s going.
So, let’s add some code that links our camera position to the cube’s position and move when the cube moves.
transform.position = cube.transform.position;
let’s save this and run it.
Now, we have to tell Unity to add this cube to that variable we created.
Drag the cube from the hierarchy into the Cube section of the script here.
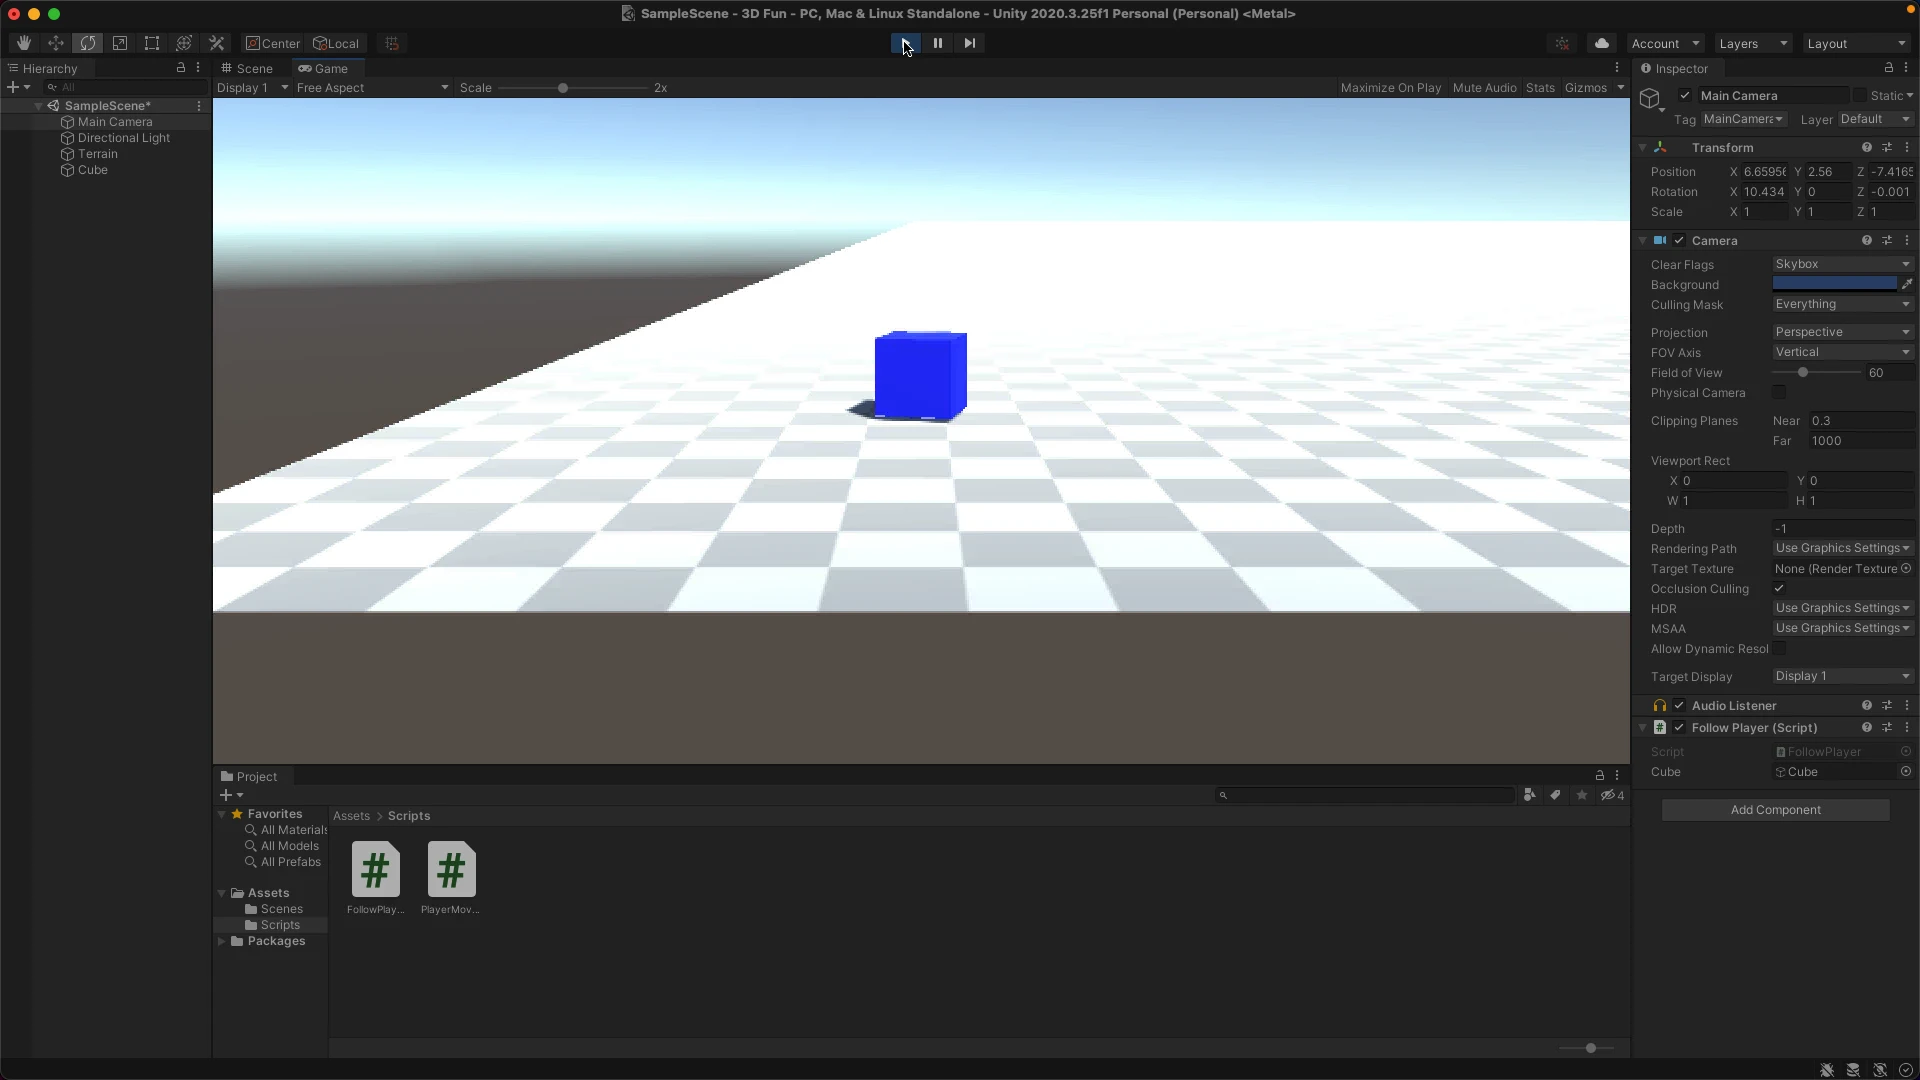
The camera is following it now, but we can’t see our cube. We need to offset that a bit.
To do that, we’ll take our position, match it to the cube’s position, and create a new vector 3 that offsets the camera. It will tell the camera to move up and back, so it’s looking down at our object.
Vector3 objects determine the position of the object in space. We’ll do an article on that soon.
transform.position = cube.transform.position + new Vector3(0, 2, -15);
Now the camera should be back and away from the object.
Here is the full code:
FollowPlayer.cs
using System.Collections;
using System.Collections.Generic;
using UnityEngine;

public class FollowPlayer : MonoBehaviour
{

    public GameObject cube;

    // Start is called before the first frame update
    void Start()
    {

    }

    // Update is called once per frame
    void Update()
    {
        //transform.position = cube.transform.position;
        transform.position = cube.transform.position + new Vector3(0, 2, -15);
    }
}
Let’s run it!
Now, we are following the cube (the player) around.
Conclusion
This is how you create a player in Unity! Of course, you’ll want to replace this with a person, vehicle, or something. But I wanted to demonstrate how this is done.
I hope it makes sense and it helped you out. I also have a link to a blog post in the description.
Thanks for reading! If you want to learn more about building games in Unity, bookmark this blog.
Also, I live stream every week and build Unity games on my stream, so log on to twitch and follow me here!
Thanks!
I also made the code available on GitHub
Questions, comments? Let me know!
Here’s the Video Version of this Tutorial:
Subscribe to my Channel!

Skip the hype. The newsletter that keeps you in the know.
AI news curated for engineers. The AI New Hotness Newsletter is what you need.
Zero fluff. Just the research, tools, and infra updates that actually affect your production stack.
Stay up to date on AI for developers - Subscribe on LinkedIn