Trying out the Arch Linux Guided Installer
Last Update: Sep 20, 2023
Today’s sponsor is Depot. Depot is a remote container build service that’s half the cost of GitHub Actions runners and up to 40x faster than other build services. Try it for free.
Note: This article was originally written in September of 2021. It has since been updated to match the newest installer.
I’ve been using Arch regularly on my “main machine” for about 12 years. The first time I installed it, I struggled. I messed things up. I had to start over a few times. I finally got it dialed in. It was tough, but worth it.
Since then, every time I get a new machine, I’ve had to install it again. It’s not a big deal anymore. However, that first time was challenging, and it was a barrier for new Linux users to try it out.
Since Arch is challenging to install, configure, and maintain, it’s become a bragging right.
I use Arch, btw
Because of this challenge, it’s the best distro for beginners.
Honestly, it’s overblown. Despite what the Reddit elite would have you believe, Arch isn’t that hard. I’m more impressed by the patience and tech chops of the Gentoo or Linux from Scratch folks. But I digress.
Linux folks have been asking for years for an installer of some type. Products like the Zen Installer are great, but they want an officially supported installer.
Well, now we have one, the Arch Linux Guided Installer. I tried it out and got it working. So I’ll show you how to install Arch with the guided installer, so you can go on Reddit and talk smack to other Linux users.
Download Arch Linux
To start, you must download the Arch ISO. I’m in the US, so I generally go with the one on the Advanced Hosters mirror. I’m installing this as a Virtual Machine using VirtualBox, but it should look the same on a real machine as well.
When you boot up, you’ll see this screen:
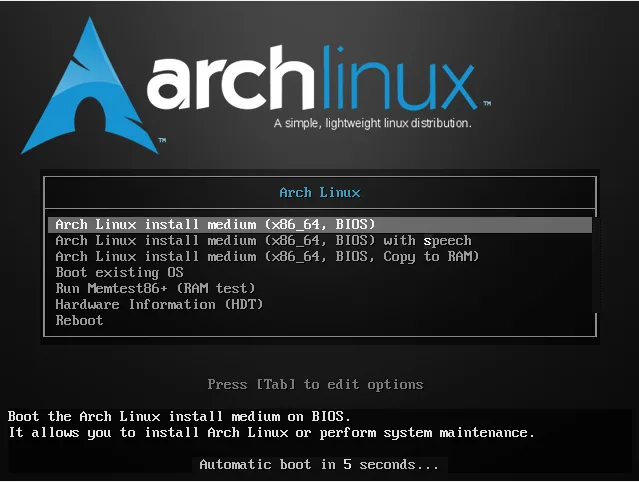
It then boots to a prompt.

You can start a manual install process from here or start the guided installer with this command:
archinstall
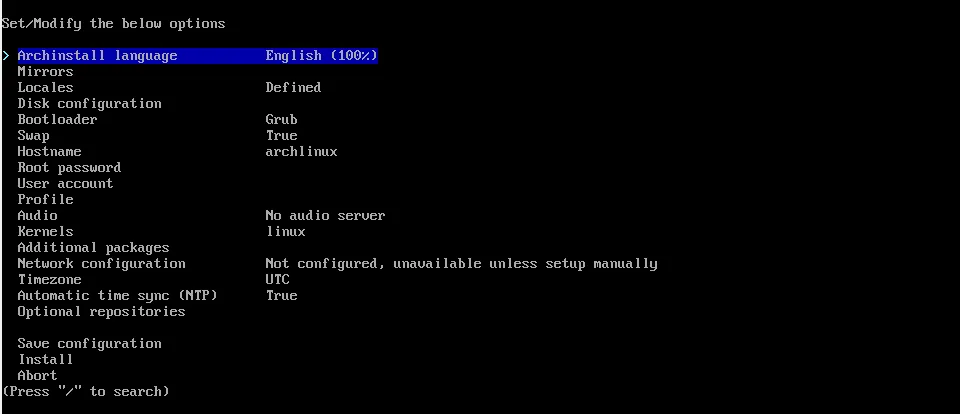
You’ll see this screen, which has all of your installation options.
Next, select a mirror close to you. Select Mirrors:

Then select Mirror region:

This will show a list of regions available worldwide. Choose somewhere close to you.

Once you’ve selected your region, choose the back option.

Now, you’ll see your mirrors and locales are defined.
Configure Hard Disks
Next, we need to set up our hard drive for Linux. Select Disk configuration:
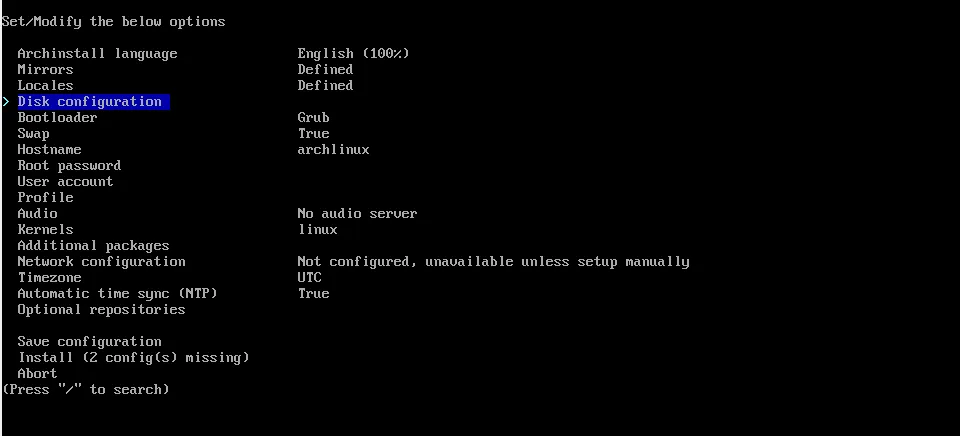
Here, you have several options. You can use a “best-effort default partition layout” or specify it yourself. If you’re dual-booting Arch Linux and Windows, you must partition manually. I am installing Arch by itself on this machine and don’t need a special configuration, so I’ll just let the installer do its thing.

Now you can see the drive you want to install this on.

Select the drive you want to install and press the TAB button, then enter.
Now you can select the filesystem you want to use:

I generally go with EXT4. It will then ask if you want to create a separate partition for /home. I usually select yes here.

And you’re done.
Set Root Password and Add Users
Your configuration screen shows what selections you’ve made so far, and you’ll notice the root password and User account are blank:
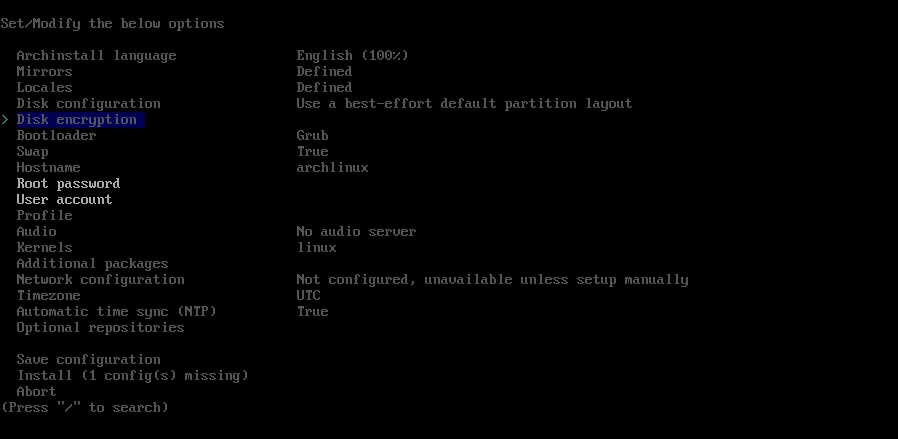
Select root password and press enter:

Enter a good password and repeat it:

Next, you’ll see User account. Select it:

And select Add a user

Enter your username and password twice.

Now, it will ask if you want to be a super user (so you can use sudo). I generally select yes here.

Once you’re done, select “Confirm and exit”.

Network Configuration
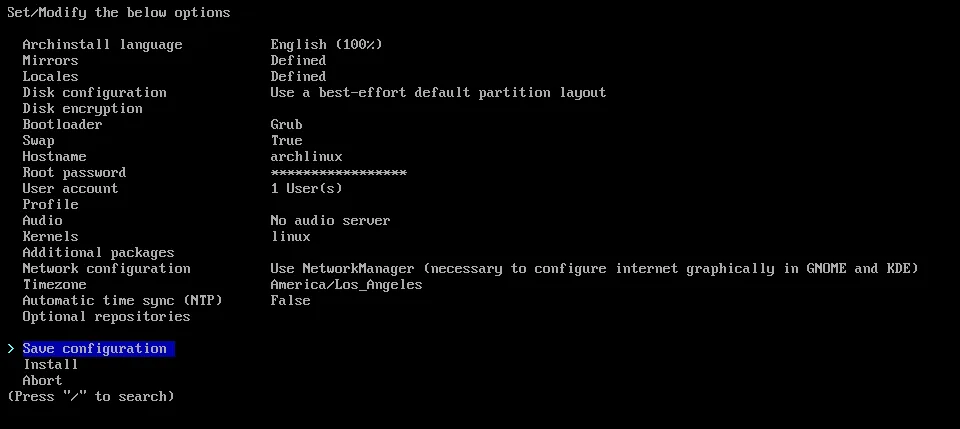
Next, you’ll need to set up your network. Here, you can copy the ISO network configuration (if you have a config stored on the USB drive) or use NetworkManager. You can also manually configure it if you like. I’m going to select network manager.

You can set your timezone and NTP settings here:
Which Profile?
There are several profiles available. This determines what you want to use your Arch Linux machine to do. There are
- Desktop: Common desktop with windowing system
- Minimal: Just enough to boot to a prompt with a small system
- Server: Used for building servers, command line only with services.
- Xorg: For computers that will use a remote desktop.
In the next step, we’ll select our profile.
Select profile:
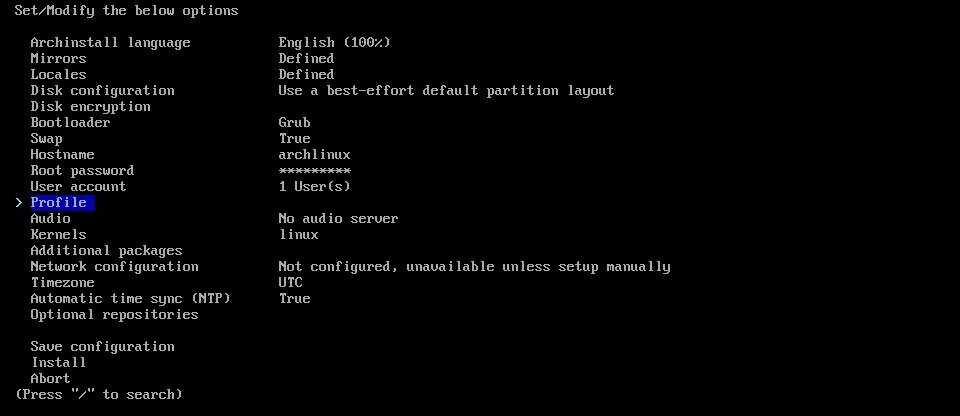
Select profile again:

And you can choose your profile. I’m choosing a desktop.

If you choose any other profiles, you’ll get configuration options and return to the main menu. You can skip the next section. If you chose desktop, read the next section.
If You Chose Desktop
If you chose desktop, you’ll be presented with desktop environment options. There is no wrong answer here. It’s whatever you prefer. This is the main desktop you’ll be using when on this machine, and you can choose multiple if you like.
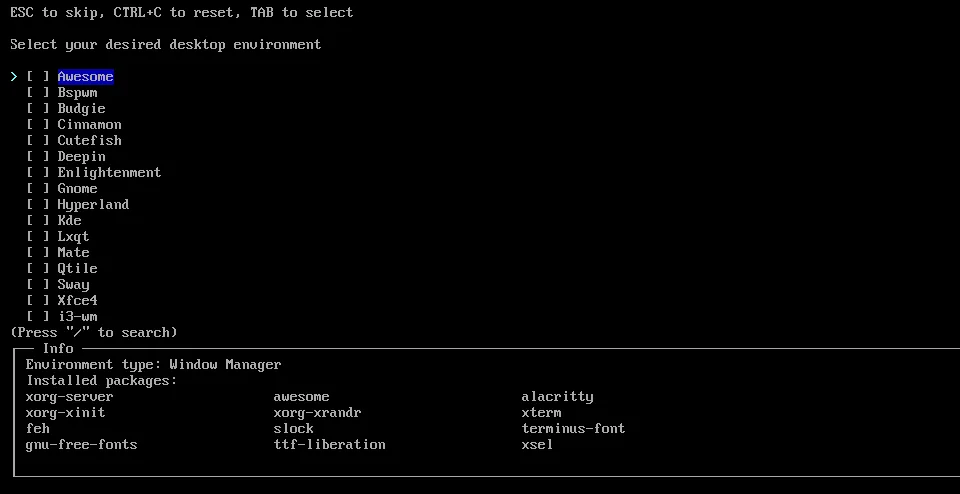
Then you set some options:
The graphics driver is only needed if you want to run a compiled proprietary driver. If you wish to use open-source ones, select that.
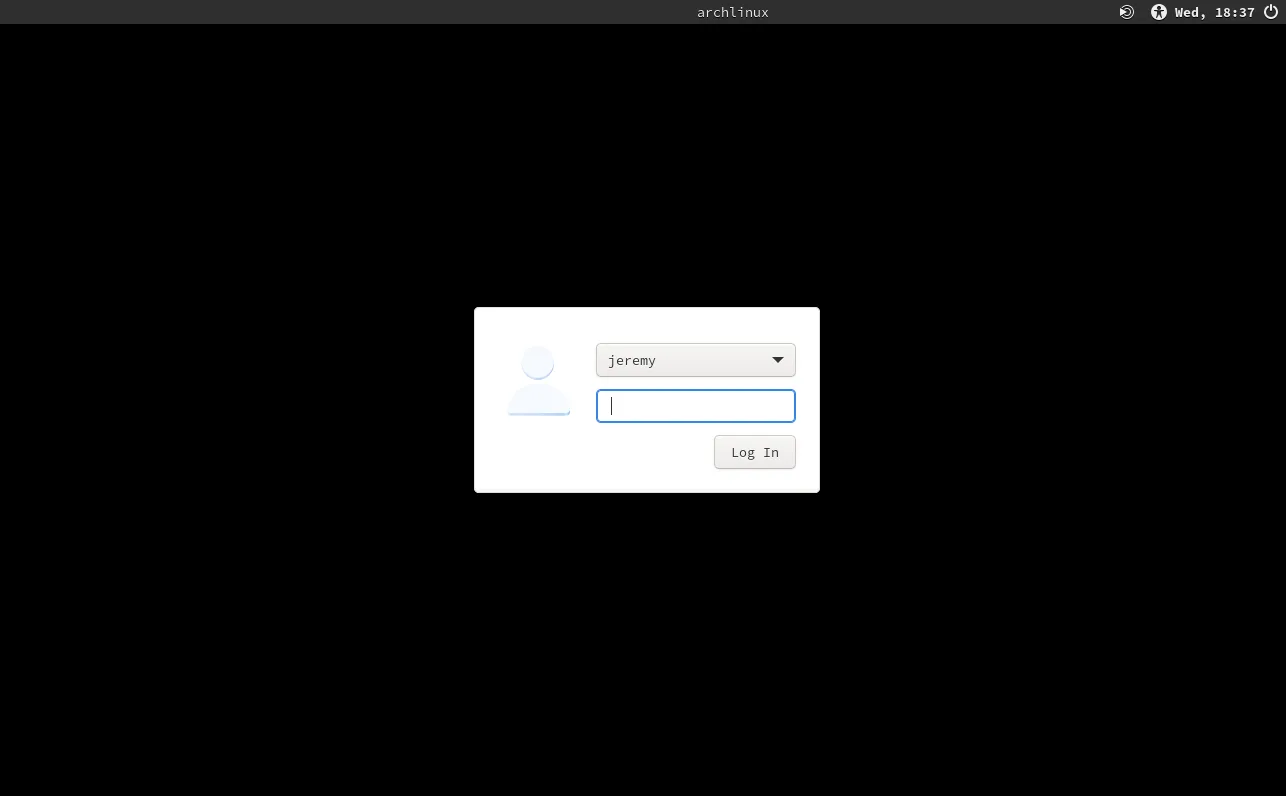
The greeter is the 2nd screen you see (after grub) that allows you to log in and choose your desktop environment.

Make your choices, and you’ll return back to the main menu. Now, you should be ready to install! Select install and press enter.
After the installation is finished, you’ll see this screen:
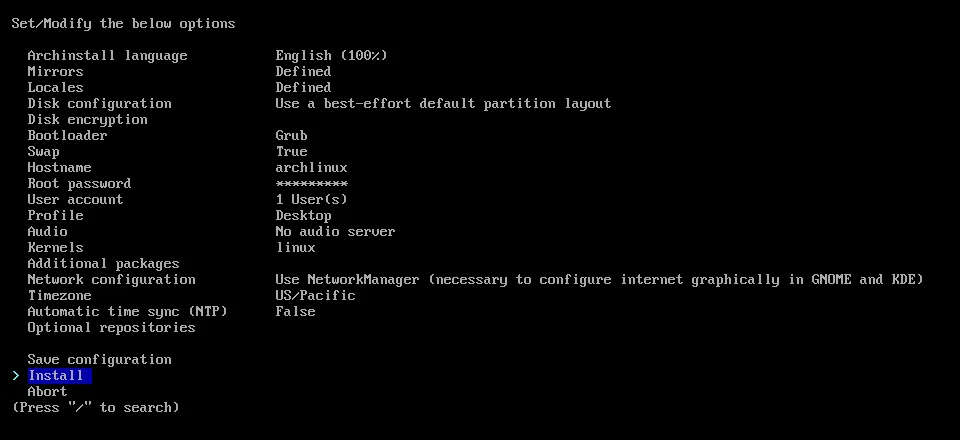
This allows you to enter a shell environment on your new machine if you want to configure something before rebooting. This can be useful if you must configure something before booting the first time. Most of the time you won’t need to.

After that’s done, hopefully you see this! Arch has been successfully installed!

Now reboot your machine.
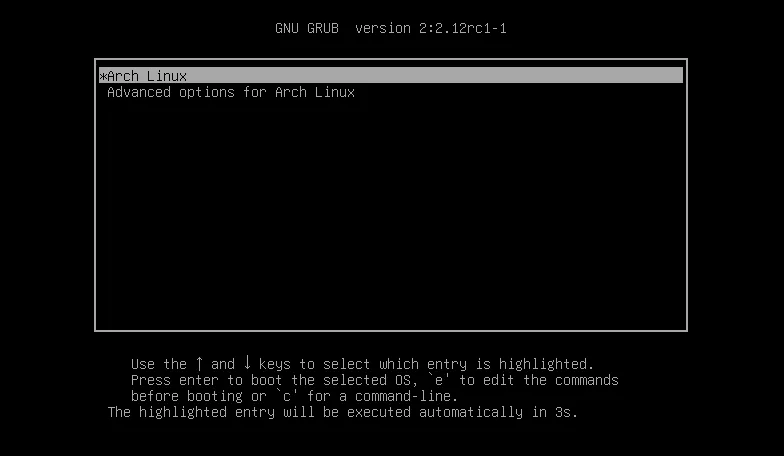
It will boot up at first to a GRUB screen. You can press enter or wait a few seconds.
Next is the LightDM screen (the greeter we set up earlier).
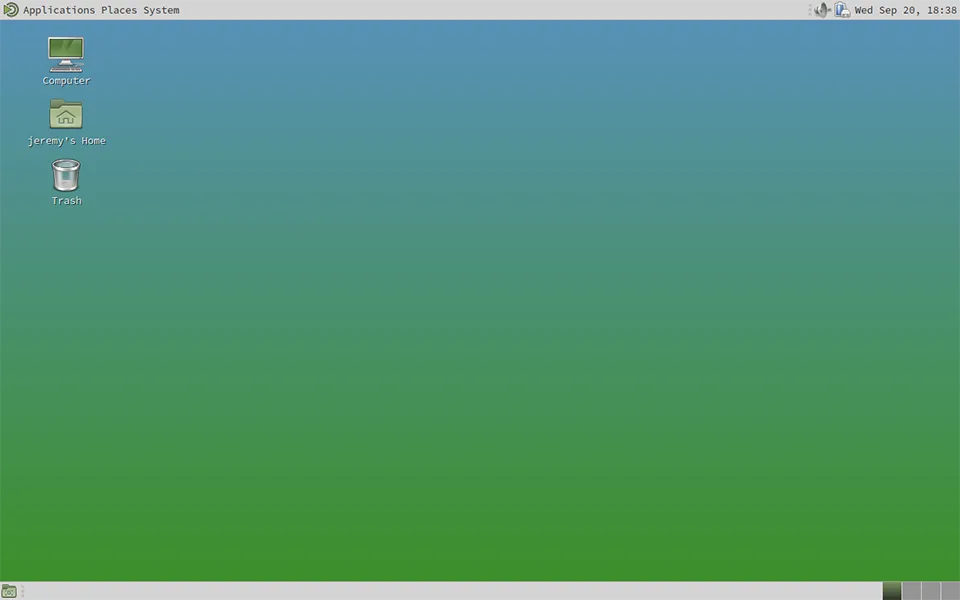
After logging in, you’ll see a new desktop!
Conclusion
As I stated before, the “standard way” to install Arch Linux is less of a challenge once you’ve done it a few times. The installer is nice, but the whole purpose of using Arch is to have complete control of your system. It can be fun to hand-pick items. So I don’t care either way.
The Arch Linux Installer is a good option if you want to try Arch and avoid going through the pain of a manual install. You will still need to know some things. It’s not “point and click and go” like Pop!_OS or Ubuntu. But it’s easier than doing it manually. So, hopefully, it will bring more folks into the Arch Linux world.
– Jeremy

Want to learn more about Linux? Of course you do. Check out this Linux Fundamentals course. You can sign up for a free trial here and take it today!
Today’s sponsor is Depot. Depot is a remote container build service that’s half the cost of GitHub Actions runners and up to 40x faster than other build services. Try it for free.


