


How to Setup and Use Stable Diffusion XL

Last Update: Jun 7, 2024

AI changed software development. This is how the pros use it.
Written for working developers, Coding with AI goes beyond hype to show how AI fits into real production workflows. Learn how to integrate AI into Python projects, avoid hallucinations, refactor safely, generate tests and docs, and reclaim hours of development time—using techniques tested in real-world projects.
The image generation services out there (Midjourney, DallE, Gemini, etc) are awesome. The quality is unmatched at this time. But what if you want to generate images on your own local computer?
The reasons you’d want to do this:
- No monthly fees
- No queues or credits
- Freedom to generate whatever you want
- You can add them to applications you’re developing
For local AI image generation, it’s hard to beat Stable Diffusion. Stable Diffusion XL is the latest iteration of the popular text-to-image generation model, offering impressive results. If you’re eager to dive into the world of AI-generated art using Stable Diffusion XL, this guide will help you get started.
Let’s make some images!
Prerequisites
Before you begin, ensure that you have the following:
- A computer with a powerful GPU (preferably an NVIDIA GPU with at least 8GB of VRAM)
- Python 3.7 or later installed
- Basic knowledge of the command line interface
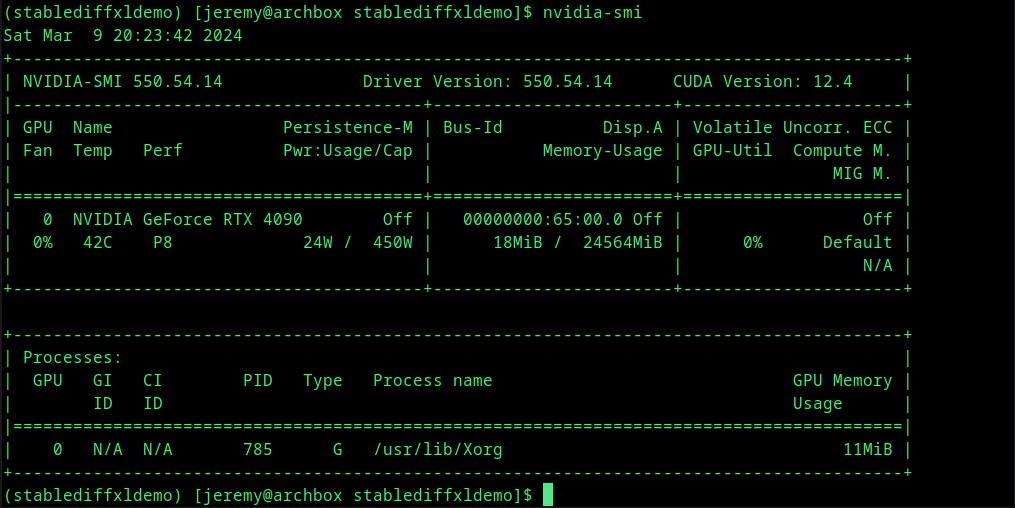
You can check the status of your CUDA drivers and see how much VRAM you have available by typing:
nvidia-smi
Getting Started with Stable Diffusion XL
We will access Stable Diffusion XL from Python. This is a powerful way to use the model, as you can integrate image generation into an existing Python application or build automated systems.
First we’re going to start simple, and build something with the Stable Diffusion XL Base Model. Let’s get set up for generating images on our machine.
Step 1: Create a Virtual Environment
Let’s create a virtual environment for this. This is recommended because it allows you to install packages for this project and avoid conflicts down the road.
You can use Anaconda, MiniConda, or Python Virtual Environments. I will use a Python environment for this.
python -m venv stablediffxldemo
Activate it using:
source stablediffxldemo/bin/activate # Linux & MacOS
Step 1: Install Dependencies
To run Stable Diffusion XL, you’ll need to install the necessary dependencies. Open your terminal and run the following commands:
pip install invisible_watermark transformers accelerate safetensors
Then we need to install the latest diffusers:
pip install diffusers
and lastly, we’ll install xformers. We do this last because it will downgrade your version of Pytorch for compatibility:
pip install xformers
Now, you should be ready to go.
Step 2: Build a Simple test Script.
Let’s write a simple script that uses our SDXL model from hugging face. The comments explain what’s happening in the file:
# Import necessary libraries
from diffusers import DiffusionPipeline
import torch
# Initialize the pipeline for generating images
# We are using the "stabilityai/stable-diffusion-xl-base-1.0" pretrained model
# Set the data type to float16 for memory efficiency
# Enable the use of safetensors
# Set the variant to fp16
pipe = DiffusionPipeline.from_pretrained("stabilityai/stable-diffusion-xl-base-1.0", torch_dtype=torch.float16, use_safetensors=True, variant="fp16")
# Send the pipeline to the GPU
pipe.to("cuda")
# Define the prompt for the image
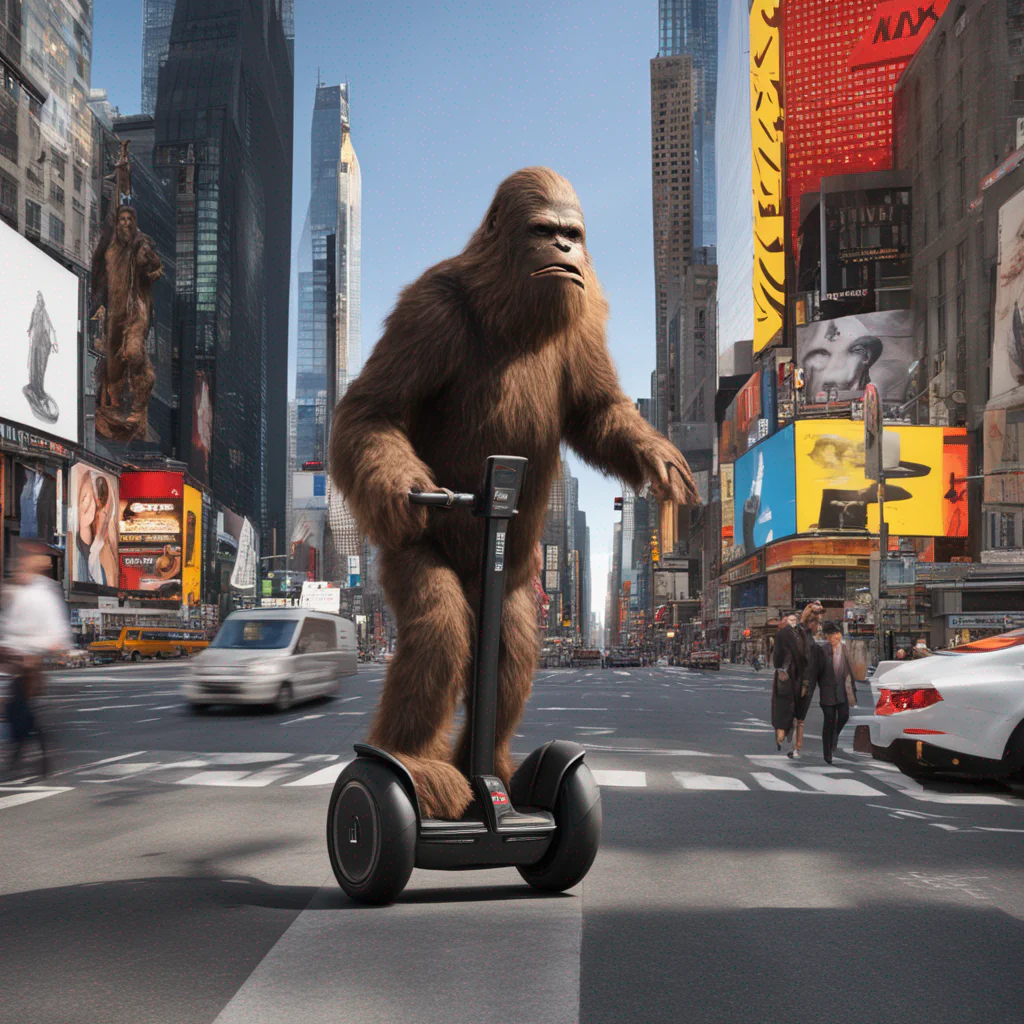
prompt = "A photorealistic image of a sasquatch in a business suit riding a segway in times square."
# Enable the use of XFormers for memory-efficient attention computation
pipe.enable_xformers_memory_efficient_attention()
# Generate the image based on the prompt
images = pipe(prompt=prompt).images[0]
# Save the generated image as "output.png"
images.save("output.png")
Adjust the prompt variable to describe the image you want to generate. Feel free to be creative and experiment with different prompts.
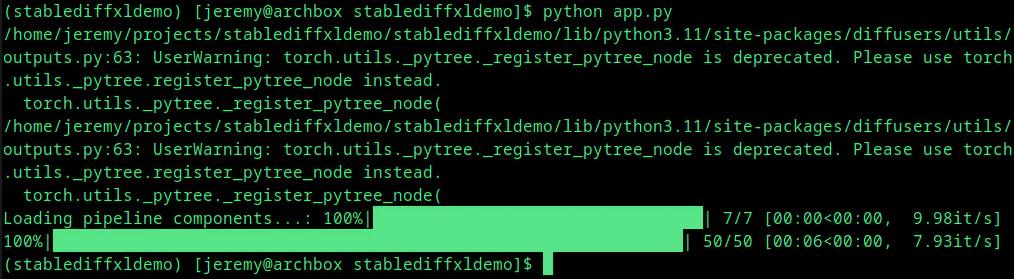
Run the Python script using the command:
python app.py
When you run it, you’ll see something like this:
The generated image will be saved as output.png in the same directory.
Here is the one we’ve generated:

Pretty awesome.
You can use this to generate images from Python at any time. Let’s do something really quick.
Generate Multiple Images
Let’s say I want to generate 50 images. I’ll generate a picture of the largest city in each of the 50 states in the United States. I’ll start with this CSV file:
Largest City in Each State in the United States
First, we’ll add this import:
import csv
then we’ll move our image generation to it’s own function:
def generate_image(prompt, city, state):
This is what the full function looks like. We’ll take the city and state as inputs and format our prompt and the image name from it.
def generate_image(city, state):

    # Define the prompt for the image taking city and state as inputs
    prompt = f"A postcard picture of {city}, {state} in the Summer"

    # Enable the use of XFormers for memory-efficient attention computation
    pipe.enable_xformers_memory_efficient_attention()

    # Generate the image based on the prompt
    images = pipe(prompt=prompt).images[0]

    # Save the generated image as "output.png"
    images.save(f"{city}_{state}.png")
Once we’ve abstracted that into a function, here is what the main code should look like. We’ll open up that CSV file and parse it line by line, generating an image for each city.
# Open the CSV file in read mode
with open('cities.csv', 'r') as csvfile:
    # Create a CSV reader object
    csv_reader = csv.reader(csvfile)

    # Set a flag to indicate whether we've read the first row or not
    first_row = True

    # Loop through each row in the CSV file
    for row in csv_reader:
        # If it's the first row, skip it
        if first_row:
            first_row = False
            continue

        # Print each row (which is a list of strings)
        generate_image(row[0], row[1])
        print(row)
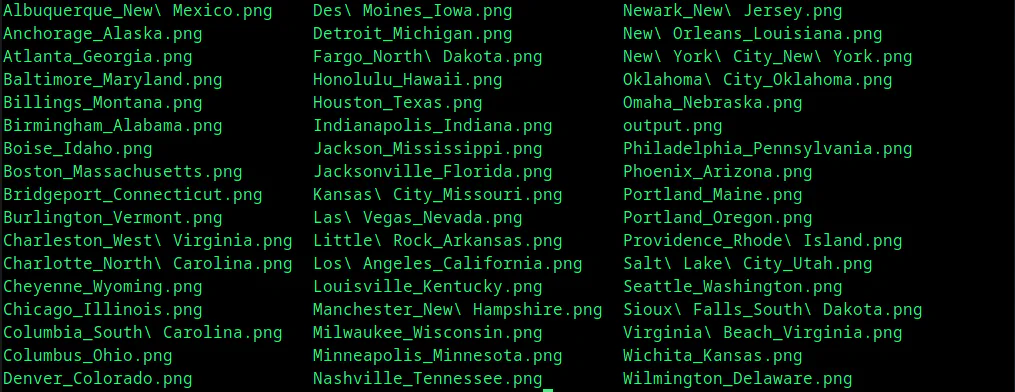
Now, when you run the application, it will iterate over every row in the cities.csv file:
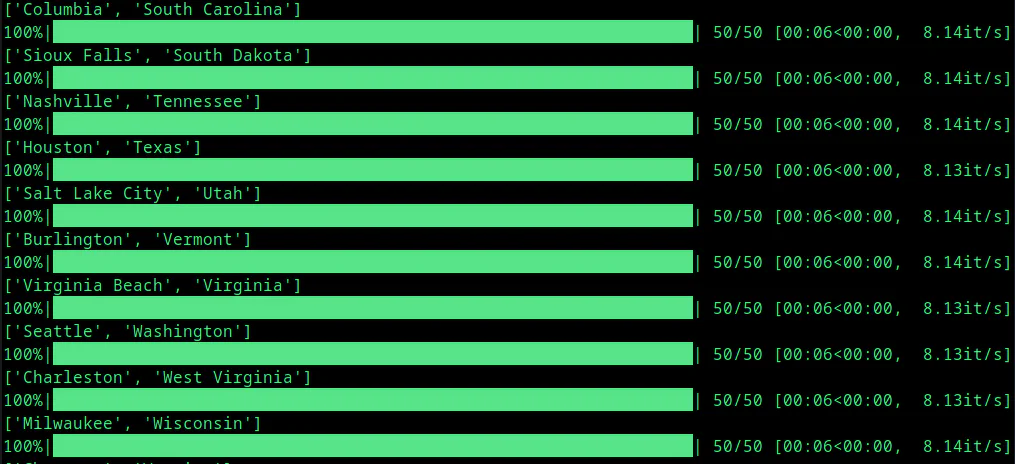
and it produces a nice list of files!
I’ve included this to show what’s possible with this model. Let’s examine another way to generate even better images.
Base + Refiner “Ensemble of Experts” Model
An “ensemble of experts” is a model like a team of experts working together. It’s a fancy way of saying you split up tasks among “team members” with particular strengths. The work from each specialist is combined to create the final product. And that’s what we’ll do here.
Let’s take the code from Hugging Face and walk through it. Here is the full file:
from diffusers import DiffusionPipeline
import torch

# load both base & refiner
base = DiffusionPipeline.from_pretrained(
    "stabilityai/stable-diffusion-xl-base-1.0", torch_dtype=torch.float16, variant="fp16", use_safetensors=True
)
base.to("cuda")
refiner = DiffusionPipeline.from_pretrained(
    "stabilityai/stable-diffusion-xl-refiner-1.0",
    text_encoder_2=base.text_encoder_2,
    vae=base.vae,
    torch_dtype=torch.float16,
    use_safetensors=True,
    variant="fp16",
)
refiner.to("cuda")

# Define how many steps and what % of steps to be run on each experts (80/20) here
n_steps = 40
high_noise_frac = 0.8

prompt = "A photorealistic image of a sasquatch in a business suit riding a segway in times square."

# run both experts
image = base(
    prompt=prompt,
    num_inference_steps=n_steps,
    denoising_end=high_noise_frac,
    output_type="latent",
).images
image = refiner(
    prompt=prompt,
    num_inference_steps=n_steps,
    denoising_start=high_noise_frac,
    image=image,
).images[0]
This code uses the DiffusionPipeline from the diffusers library in Python. This pipeline generates images from text prompts using a combination of a base model and a refiner model. The base model generates an initial image, and then the refiner model adds more details and improves the quality.
We start with importing the proper libraries:
from diffusers import DiffusionPipeline
import torch
Then we’ll load the base and refiner models. We need to specify the name of the model (stabilityai/stable-diffusion-xl-base-1.0) and pass a couple of parameters. We’ll pass
- the
torch_dtypewhich is the datatype used by the model’s tensors - the
variant, which specifies the model variant being used, - and the
use_safetensorsflag. We set this to yes, because safetensors is a safe and secure file format for handling tensors. It prevents corruption and improves performance.
# load both base & refiner
base = DiffusionPipeline.from_pretrained(
    "stabilityai/stable-diffusion-xl-base-1.0", torch_dtype=torch.float16, variant="fp16", use_safetensors=True
)
We then push the models to the GPU:
base.to("cuda")
and set up our refiner. Here, we load up the refiner model stabilityai/stable-diffusion-xl-refiner-1.0 and pass the following parameters, which are very similar to the base model: We’ll separate the datatype, variant, and safetensors. We can also specify our variational autoencoder. In our case, the base one will do: base.vae.
refiner = DiffusionPipeline.from_pretrained(
    "stabilityai/stable-diffusion-xl-refiner-1.0",
    text_encoder_2=base.text_encoder_2,
    vae=base.vae,
    torch_dtype=torch.float16,
    use_safetensors=True,
    variant="fp16",
)
then we’ll send the refiner to our GPU.
refiner.to("cuda")
We then define the number of steps to take and the fraction of steps to be run on each expert.
we set denoising_end=0.8 so the base model performs the first 80% of denoising the high-noise timesteps and set denoising_start=0.8 so the refiner model performs the last 20% of denoising the low-noise timesteps. (From the Documentation at HuggingFace)
# Define how many steps and what % of steps to be run on each experts (80/20) here
n_steps = 40
high_noise_frac = 0.8
and course we have the prompt:
prompt = "A photorealistic image of a sasquatch in a business suit riding a segway in times square."
and now we can run both the experts, using the value and percentages we’ve set:
# run both experts
image = base(
    prompt=prompt,
    num_inference_steps=n_steps,
    denoising_end=high_noise_frac,
    output_type="latent",
).images
image = refiner(
    prompt=prompt,
    num_inference_steps=n_steps,
    denoising_start=high_noise_frac,
    image=image,
).images[0]
and finally, we’ll save the image.
image.save("output.png")
Let’s see what it looks like!
Looks pretty good!! This is just the beginning of things you can do with Stable Diffusion XL!!
Tips for Better Results
To get the most out of Stable Diffusion XL, consider the following tips:
- Use descriptive and detailed prompts to guide the model towards your desired output.
- In your prompts, experiment with different styles, artists, and mediums (e.g., “in the style of Vincent van Gogh” or “as a digital painting”).
- Generate multiple images with the same prompt and select the best one.
- Use negative prompts to exclude unwanted elements from your generated images.
Conclusion
Stable Diffusion XL is a powerful tool for creating stunning AI-generated artwork. You should now understand how to install, set up, and use Stable Diffusion XL. Remember to explore, experiment, and have fun! I’ll add more advanced stuff to this blog, and we’ll build some interesting applications, so stay tuned!
Questions? Comments? What are you doing with generative AI today? Let me know! Let’s talk.
If you build Generative AI art or enjoy it, join my community Wizards of Generative AI

Skip the hype. The newsletter that keeps you in the know.
AI news curated for engineers. The AI New Hotness Newsletter is what you need.
Zero fluff. Just the research, tools, and infra updates that actually affect your production stack.
Stay up to date on AI for developers - Subscribe on LinkedIn