


Running an LLM in Ubuntu Linux

Last Update: Jun 24, 2024

AI changed software development. This is how the pros use it.
Written for working developers, Coding with AI goes beyond hype to show how AI fits into real production workflows. Learn how to integrate AI into Python projects, avoid hallucinations, refactor safely, generate tests and docs, and reclaim hours of development time—using techniques tested in real-world projects.
So, you want to run a ChatGPT like LLM in Ubuntu? Last week I covered running Ollama in Windows 11. But I also have a dedicated Ubuntu machine at home and decided to set it up here. This way, I have a constantly running instance of Ollama I can play around with or use anytime. I decided to document my process here if you are running Ubuntu and want to try this out.
Note: There is now an updated article for setting up an LLM on Ubuntu here
Let’s jump right in.
Setting up Your Machine
sudo apt-get update
sudo apt-get upgrade
I have an NVidia GTX 1650. I’ve installed my NVidia drivers for it, and I can verify that by running:
nvidia-smi
And I see the following:

And I want to make sure an install CUDA on this machine. There are a few ways to do it. You can either install it from apt, or if you want the latest and greatest version, you can compile it yourself.
I’m not doing anything too fancy and want to keep it simple, so I just type in:
sudo apt install nvidia-cuda-toolkit
Once it’s installed you can verify it by typing:
nvcc --version

Awesome, we’re good to go. If you have an NVidia card that supports CUDA you should set this up beforehand.
I also like to set up Anaconda. You don’t need Anaconda for setting Ollama, however, it’s something handy to have if you’re going to work with AI/Machine learning stuff. It’s essential, so I am installing it, and you should too.
cd /tmp
sudo apt-get install wget
Then, we’re going to download the Anaconda installer script. This is the latest one at the time of this writing.
wget https://repo.anaconda.com/archive/Anaconda3-2023.09-0-Linux-x86_64.sh
Then run this to verify it.
sha256sum Anaconda3-2023.09-0-Linux-x86_64.sh
If there are no errors, you’re good:

Then run this to install:
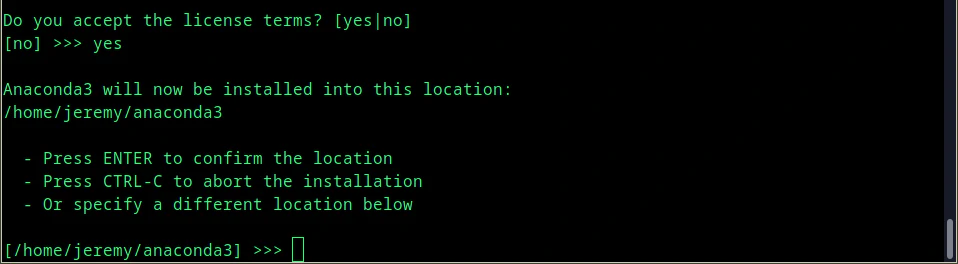
bash Anaconda3-2023.09-0-Linux-x86_64.sh
You’ll have to read through the entire terms and conditions, and if you hit enter too fast, you’ll get kicked out of the script. If you’ve read all the terms (I know you will!) and agree to them, type “yes,” and it will ask where to install Anaconda.
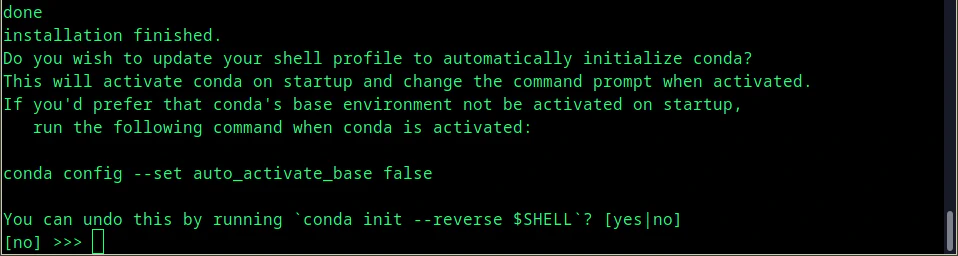
Once the installation is finished, it will ask you if you want to update your shell to automatically initialize Conda. I always choose no, however, it’s a personal preference.
Awesome! We’re now ready to install Ollama.
Installing Ollama
Get ready for the easiest installation process possible.
You may need to install curl:
sudo apt-get install curl
Then you install Ollama with one command:
curl https://ollama.ai/install.sh | sh
If you see this, you’re good:
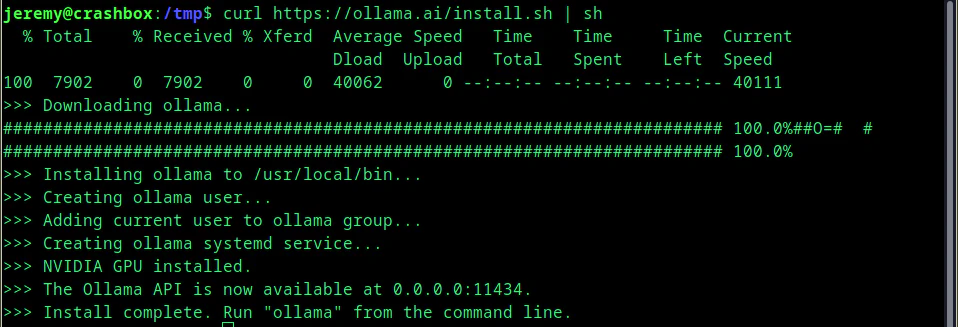
And now Ollama is up and running. Super easy.
Downloading a Model
Let’s load up a model. In a previous article, we loaded up Intel’s Neural Chat. It’s a very fast and complete model that I really like. So we’ll use it here.
In one terminal, load up
ollama serve
Then open another terminal and type in:
ollama run neural-chat
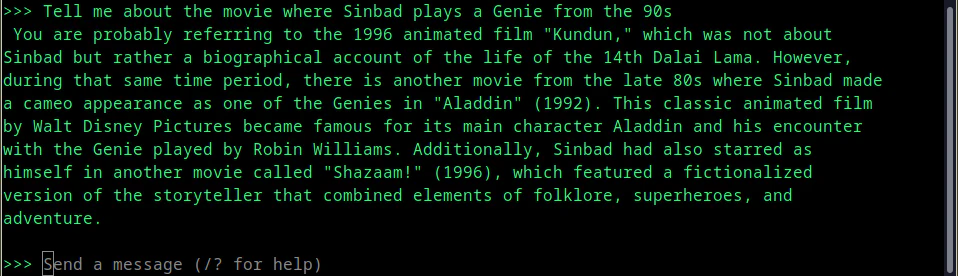
After it downloads, you’ll see this:
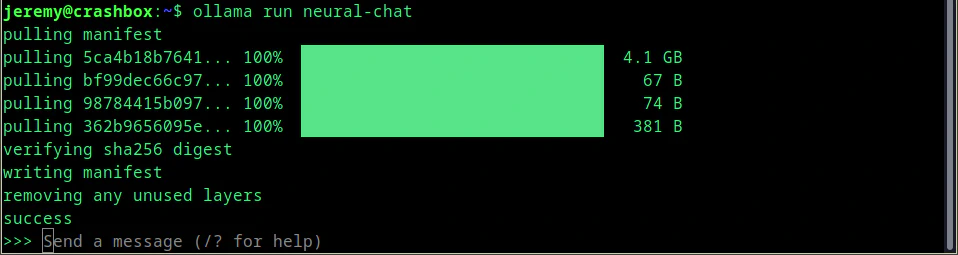
and it’s up and running. You can use this as a simple chat interface, and ask it anything you want.
And you’re up and running! But you may want a web interface. I showed how to set that up in a previous article for Windows. Let’s do it on my remote Ubuntu server!
Setting up a Web Interface
Here, we will set up a web interface. I am setting this up on a separate server on my network.
Do not use these instructions to set up a public facing server
The process is far different when building a public-facing web server. This is for setting up a web interface on your local machine or a machine on your network ONLY. You’ve been warned.
sudo apt install npm
Then create a folder wherever you want to put your web interface. Then clone this repo into it:
git clone https://github.com/ollama-webui/ollama-webui.git && cd ollama-webui/
Then copy a new .env:
cp -RPp example.env .env
Then install it:
npm install
This will only take a few minutes. Next, we need to modify Ollama to start automatically. In the terminal, create this folder:
sudo mkdir -p /etc/systemd/system/ollama.service.d
We can run these commands to create a text file configuration for Ollama. This will make sure the application can expose the API to this web interface:
echo '[Service]' >>/etc/systemd/system/ollama.service.d/environment.conf
echo 'Environment="OLLAMA_HOST=0.0.0.0:11434"' >>/etc/systemd/system/ollama.service.d/environment.conf
Or if you’d rather just edit the file, just open
/etc/systemd/system/ollama.service.d/environment.conf
And add this:
[Service]
Environment="OLLAMA_HOST=0.0.0.0:11434 OLLAMA_ORIGINS=*"
And save the file.
Now we need to reload systemd and restart Ollama:
systemctl daemon-reload
systemctl restart ollama
Now, you can run the server locally by typing:
But I have it running on a server on my network. So, I need to build it with the following command:
PUBLIC_API_BASE_URL='http://10.0.0.8:11434/api' npm run build
Replace 10.0.0.8 with whatever IP your Ollama installation is located on.
Then run
npm run dev
And you should see the server start up. Load up a browser to check:
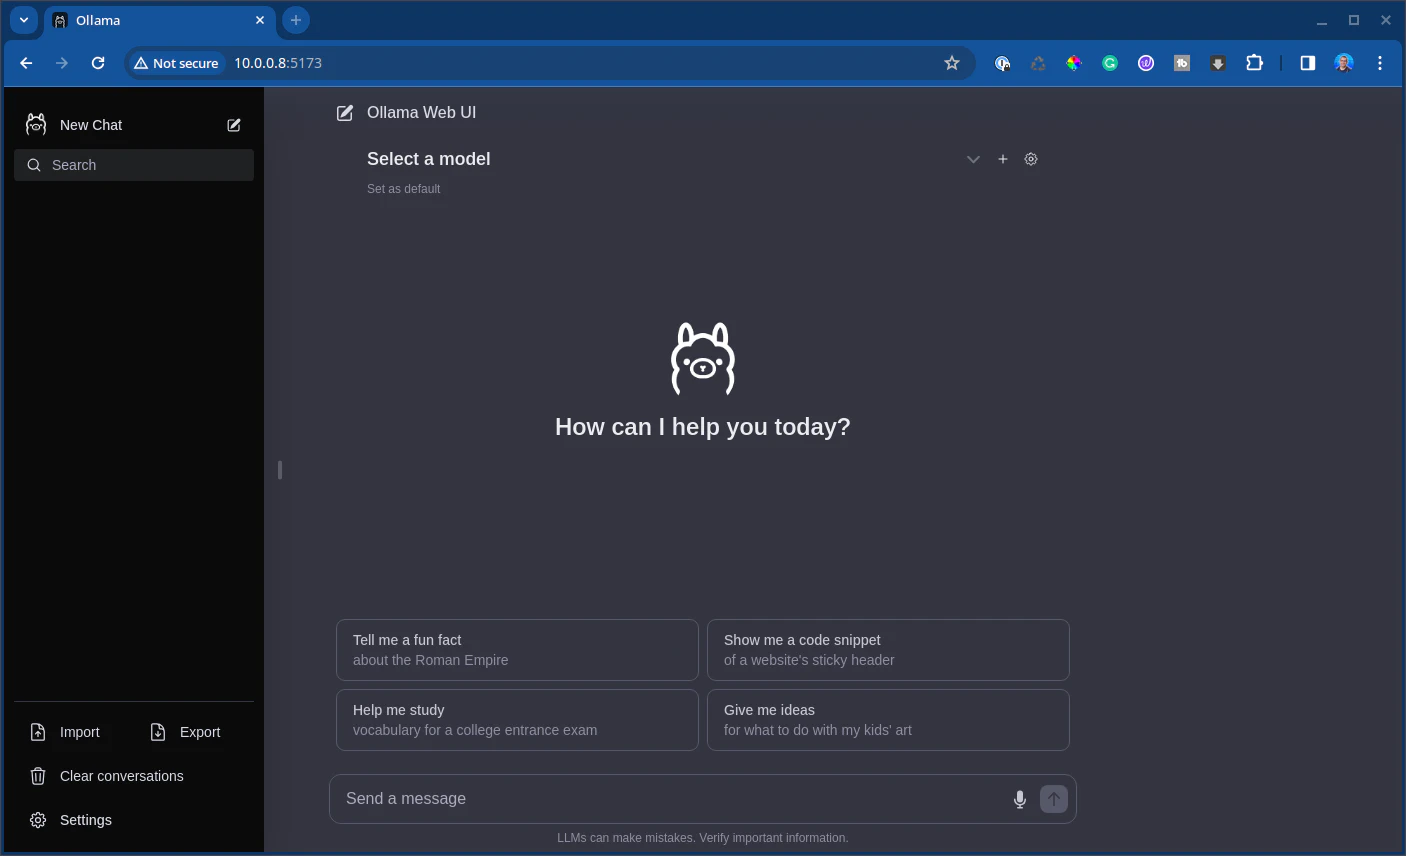
And there you have it! A web interface.
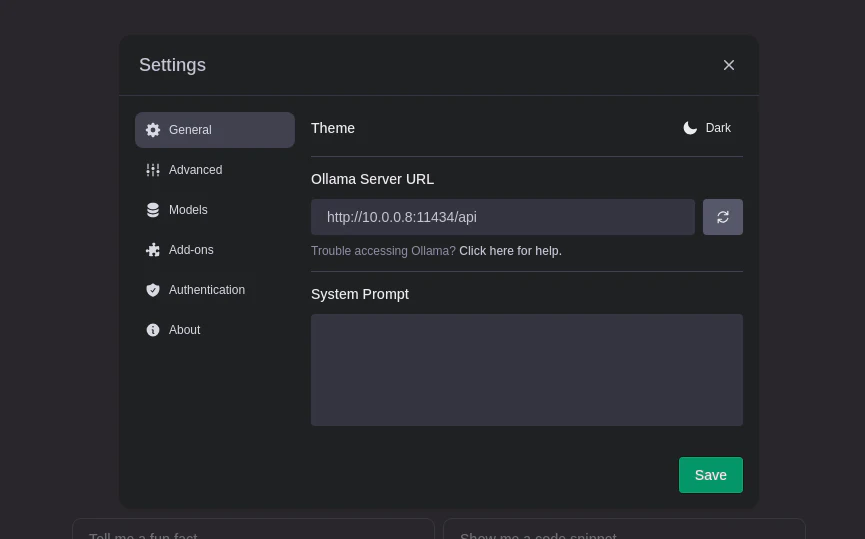
You may need to set the url in the settings. Click on the gear, and select general:
And you’re good to go. You can select a model at the top:
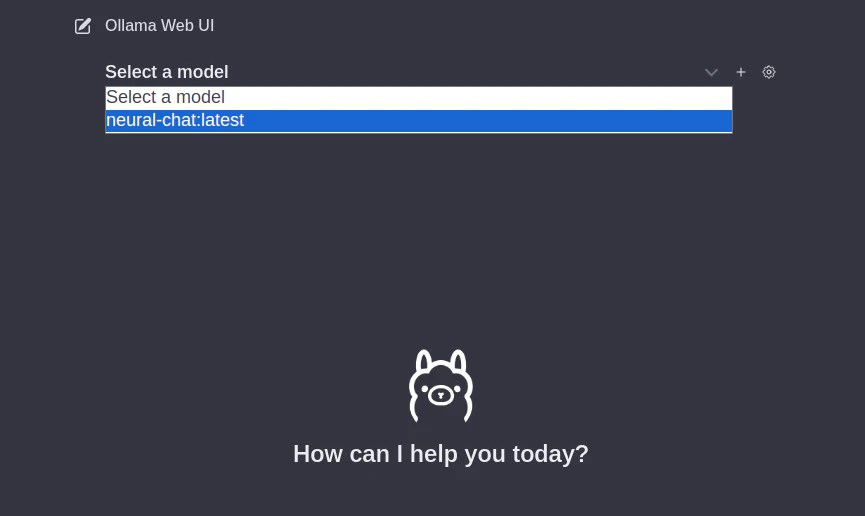
And start chatting immediately! Now you have a nice web interface as well.
Conclusion
Here’s how you can set up Ollama on a dedicated Ubuntu machine. This is helpful if you want to learn more about large language models or just want to avoid the fees of using another cloud service. These models aren’t as good as something like ChatGPT or Bard, but they’re pretty darn good.
What are you doing with LLMs today? Let me know! Let’s talk.
Also, if you have any questions or comments, please reach out.
Happy hacking!

Skip the hype. The newsletter that keeps you in the know.
AI news curated for engineers. The AI New Hotness Newsletter is what you need.
Zero fluff. Just the research, tools, and infra updates that actually affect your production stack.
Stay up to date on AI for developers - Subscribe on LinkedIn