


Tutorial: How to Set Up a Raspberry Pi Web Server

Jeremy Morgan 
Nov 24, 2012 - 4 min read
Last Update: Dec 31, 2022

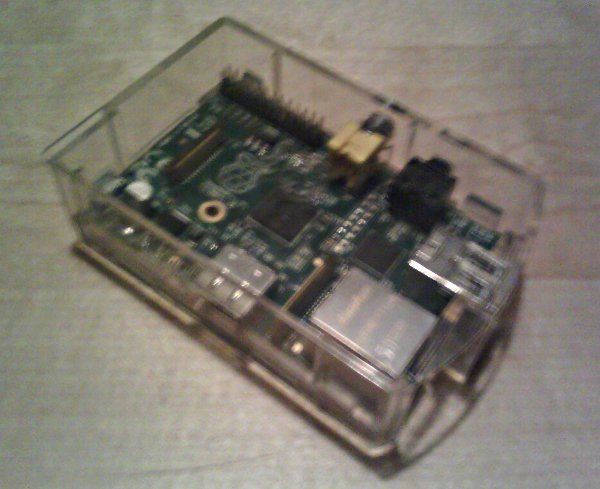
People are doing a lot of cool things with the Raspberry Pi. One of the first things I thought to do was to see if I could make a Raspberry Pi web server. Being a web developer and overall geek I figured it might be kind of fun to do, and as I found out it’s really easy.
Getting Started
Setting up a Web Server on this device really isn’t much different from any other Linux machine, but there are a couple things you’ll want to do in order to get it working right.
The first thing you want to do is get the Raspian Wheezy Image from here. As you probably guessed this is a custom Debian image for the Pi. Once you install it and boot up, you’ll come to a configuration screen that looks like this:
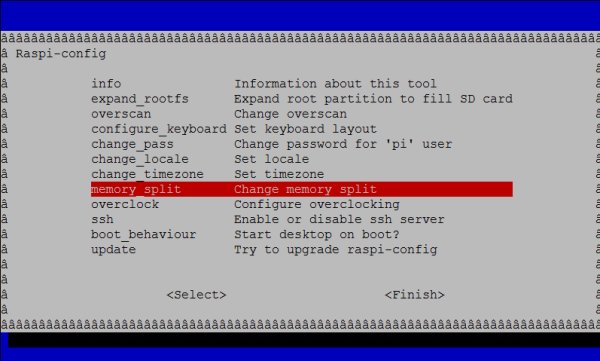
The Raspberry Pi has a “memory_split” option that divides the memory between the CPU and GPU (Graphics). Since we’re using this a webserver we don’t need that much GPU memory so change it to 16M:
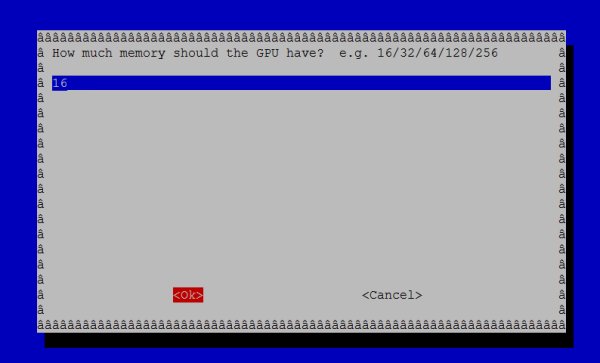
You may want to also enable the SSH server if that’s how you’re going to be accessing the device. There are other options there you can adjust, including overclocking.
Note: You can overclock this device, but I wouldn’t recommend it. With a web server setup like this you’re not going to see any real gains, but you’ll be reducing the life of the CPU and creating instability. It’s not worth doing for this setup.
After you’ve saved your settings reboot the device. Now you’ll want to update your firmware and software. The first thing you’ll want to do is get Debian up to date:
sudo dpkg-reconfigure tzdata
sudo apt-get update
sudo apt-get upgrade
Next we’re going to do a firmware upgrade, we need to install git:
sudo apt-get install git-core
then download the firmware update and run it:
sudo wget https://raw.github.com/Hexxeh/rpi-update/master/rpi-update -O /usr/bin/rpi-update && sudo chmod +x /usr/bin/rpi-update
sudo rpi-update
After the firmware update completes, you should see something like the following:
Raspberry Pi firmware updater by Hexxeh, enhanced by AndrewS
Performing self-update
ARM/GPU split is now defined in /boot/config.txt using the gpu_mem option!
We're running for the first time
Setting up firmware (this will take a few minutes)
Using HardFP libraries
If no errors appeared, your firmware was successfully setup
A reboot is needed to activate the new firmware
If you didn’t see any errors, reboot the device.
sudo shutdown -r now
Change the default password, especially if you’re going to be connecting this to the internet:
sudo passwd pi
Install the web server software
Now that everything is up to date we’re ready to install the LAMP stack. This is really no different from any other Debian web server setup:
Install Apache and PHP:
sudo apt-get install apache2 php5 libapache2-mod-php5
Install MySQL:
sudo apt-get install mysql-server mysql-client php5-mysql
Then make any changes you need to the Apache configuration and restart:
sudo service apache2 restart
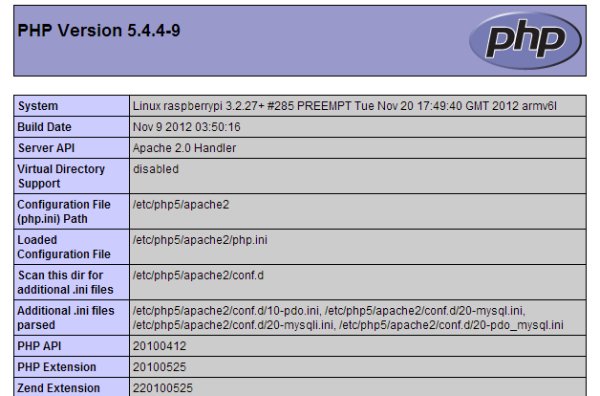
If you want to take a look at your PHP configuration, create the following file:
sudo nano /var/www/phpinfo.php
Inside that file put the following code:
<?php phpinfo(); ?>
Save it, and load it up in your browser, it should look something like this:
You’re ready to go!
Summary
This isn’t too much different from any other web server install with a few minor tweaks, and updating the device. But I thought I’d share it for those willing to try it out. This is for hacker fun only, I wouldn’t recommend using this for any real commercial website but there’s plenty you could do with this as a webserver just to experiment and play.
On the other hand I haven’t really tested it thoroughly it might be a decent option for hosting smaller sites for all I know. It might be a fun experiment to set up one as a web server, one MySQL, one Varnish, etc. and throw some traffic at it. I’ll be doing some other cool experiments with this device and documenting it here. I love hearing feedback so if you have any questions or comments send them my way!
Want to learn more about the Raspberry Pi? Check out the Raspberry Pi for Developers course!