


How to Build a Raspberry Pi File Server

Jeremy Morgan 
Jan 28, 2013 - 6 min read
Last Update: Dec 31, 2022

So I found yet another cool use for a Raspberry Pi. You can actually use it as a file server, or more accurately a controller for a file server. All you need is your Pi and a nice external drive and you can serve files to anyone on your network. It’s pretty easy, I’ll show you how.
What you’ll need.
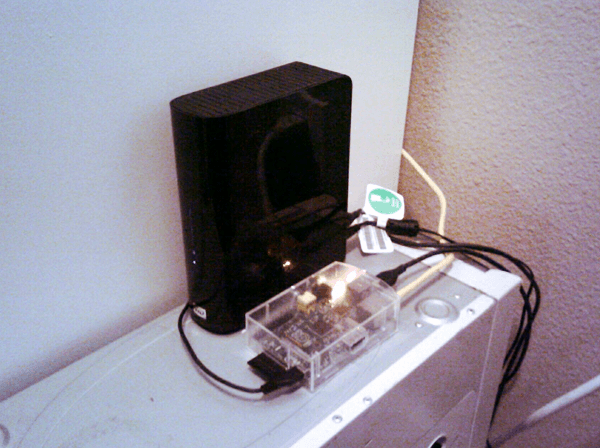
You need the Raspberry Pi set up and connected to your network. You’ll also need an external drive. I’m using a Western Digital My Book 500 GB drive.
But this drive is a few years old, so if you’re going to buy one you can pick up a 3 Terabyte Model for around $120. Since your SD card doesn’t have a lot of space and doesn’t handle frequent reading and writing you’ll need to get an external USB drive.
As with most of my tutorials, you’ll need an install of Raspbian to do this tutorial.
Mount an external USB drive
The first thing you need to do is make sure your Raspberry Pi can see the external drive. Before you plug it in, open up an LXTerminal (or get to the prompt through SSH) and type in
tail -f /var/log/messages
and watch the output. Now plug in the USB drive. You should see something like this come up:
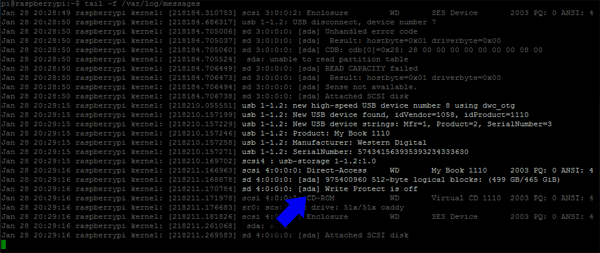
You want to look for a string identifying your USB device, but the [sda] is the part you want to pay attention to. Another thing to note: Some drives like the WD My Book come with a built in CD-ROM emulator as well for software installation. You don’t want to mount this, so look for the size of the device (in my case 499GB).
To escape this screen, press CTRL+C.
So first we want to create a location for this drive on the Raspberry Pi. This is done with the following command:
sudo mkdir /media/USBDRIVE
Now, you want to mount the drive:
sudo mount -t ntfs-3g -o uid=pi,gid=pi /dev/sda1 /media/USBDRIVE/
If you get a message saying ntfs-3g isn’t supported, install it:
sudo apt-get install ntfs-3g
This will enable you to mount it.
If your drive is not NTFS Simply replace ntfs-3g with vfat
sudo mount -t vfat -o uid=pi,gid=pi /dev/sda1 /media/USBDRIVE/
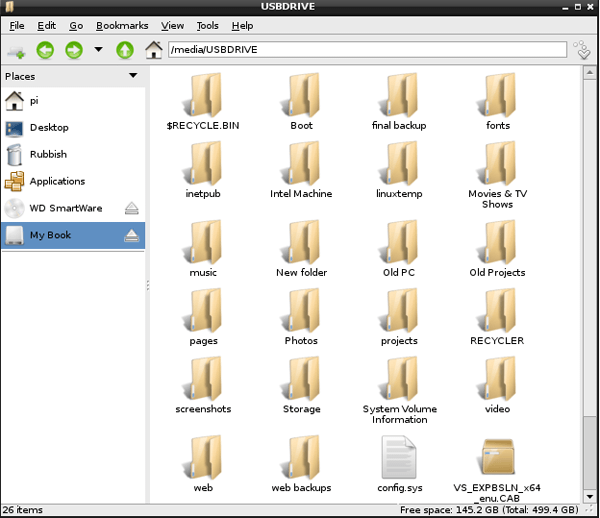
Now, you can cd to /media/USBDRIVE and see it, and it should also pop up in your file manager:
Mount the drive at startup
This step is optional but if you want your drive to mount automatically on startup, here’s what you do:
Backup the fstab:
sudo cp /etc/fstab /etc/fstab.backup
Now open fstab:
sudo nano /etc/fstab
In the fstab file, add the mount information (yours may vary slightly)
/dev/sda1 /media/USBDRIVE ntfs-3g rw,defaults 0 0
Make sure you have write permissions to it:
sudo chmod 775 /media/USBDRIVE
Now, reboot your machine and make sure the drive automatically comes up.
Share the drive on your network
Next, we’ll install SAMBA to share this drive on your network.
sudo apt-get update
sudo apt-get install samba
sudo apt-get install samba-common-bin
Now that Samba is installed, let’s add a user:
sudo smbpasswd -a pi
Enter the password you want to use to log on.
Now, make a backup of the Samba config file
sudo cp /etc/samba/smb.conf /etc/samba/smb.conf.backup
and now we’re going to open that file and make some changes:
sudo nano /etc/samba/smb.conf
The first thing to look for is workgroup.
For Windows XP or Vista:
workgroup = WORKGROUP
(or the name of your network workgroup)
For Windows 7 or 8
workgroup = HOME
(or the name of your network workgroup)
Next, we want to enable user security. Remove the hash tag (#) so the entry looks like this:
security = user
For better performance, do the same with TCP_NODELAY
socket options = TCP_NODELAY
Now, we want to create our share. Under the “Share Definitions” line, add something like this:
[USB]
path = /media/USBDRIVE
comment = My USB Drive
valid users = pi
writeable = yes
browseable = yes
Save and Quit Nano. (CTRL + X and answer Yes)
Run a check on the config file:
testparm
You should see something like this:
Load smb config files from /etc/samba/smb.conf
rlimit_max: increasing rlimit_max (1024) to minimum Windows limit (16384)
Processing section "[homes]"
Processing section "[USB]"
Processing section "[printers]"
Processing section "[print$]"
Loaded services file OK.
Server role: ROLE_STANDALONE
Press enter to see a dump of your service definitions
As long as it says “Loaded services file OK.” you won’t have a problem.
Now, restart the Samba Server:
sudo /etc/init.d/samba restart
You should see something like this:

Now you’re on the network!
Connect to your Pi from Windows
To connect to your Raspberry Pi from Windows, you’ll need to know your hostname. Type in:
hostname
and check the output. For me my hostname is “raspberrypi” (I know, creative right?).
On your Windows machine, type in Start -> Run and type in
\\raspberrypi
(or whatever your hostname is)
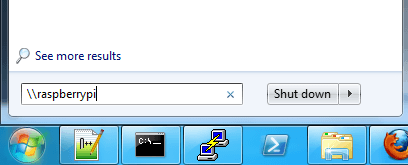
and you should see a screen like this:
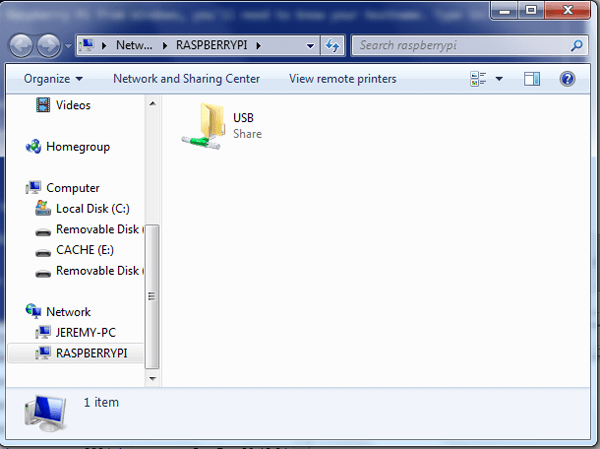
Double click on the USB folder. It will ask you for your password:
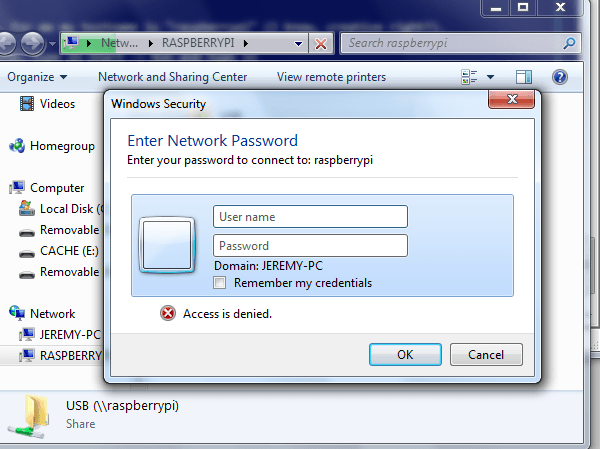
Here you want to enter the username and password you set earlier with “smbpasswd”.
You’ll now see that you can browse the folder:
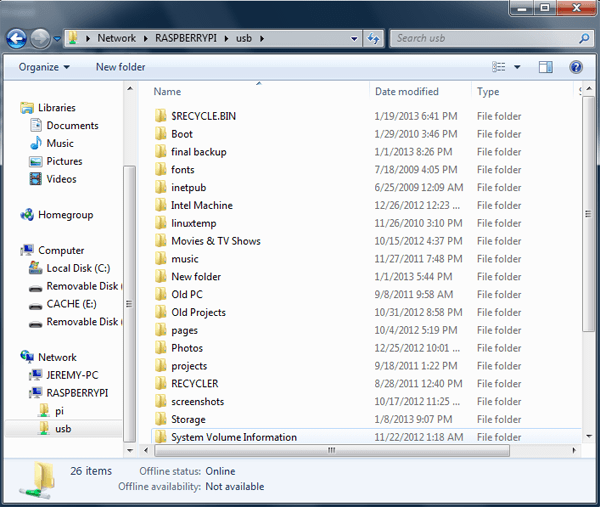
Congratulations!
Add this as a drive on your computer
This step is also optional, but you can add this as a drive on your computer. Go to “My Computer” or Start -> computer and select the button at the top that says “Map Network Drive”.
In the next box, browse to your USB drive on your Raspberry Pi and add it:
Now it will be added automatically as a drive on your computer!
Some Notes:
Make sure you have an additional power supply going to your USB drive. Don’t rely on the Raspberry Pi to power it, as that is too much of a drain for it. The drive I used has its own power supply and I haven’t had any problems with it.
You may also need to Change 128bit to 40-56 bit encryption for file shares under Advanced Sharing Options to make it work with certain versions of Windows.
Summary
I hope this tutorial has shown you how to set up a file server on your network. I don’t keep a lot of stuff on this drive, but I don’t exactly want to lug it around and plug it in to every computer I want to pull the files on (first world problems, I know). So it’s nice that I can now grab files off here from any computer in the house with ease. I could do this with any Linux or Windows machine, but the idea of a big loud machine to do the same task is wasteful and more expensive.
Want to learn more about the Raspberry Pi? Check out the Raspberry Pi for Developers course!